
Glacier Trekking in Patagonia: Ultimate Guide for Adventurers
Glacier trekking in Patagonia is accessible but requires methodical preparation for both safety and enjoyment. Whether you’re a first-timer lacing up boots for a mini-trek on Perito Moreno or a seasoned trekker eyeing a longer route on Viedma, this guide walks you through every step, from gear and fitness to safety protocols and the moment you raise a glass of glacier ice whisky on the ice itself.

Glacier trekking step by step: Your Patagonia adventure guide
Stepping onto a glacier for the first time feels like landing on another planet. The ice groans beneath your crampons, the wind cuts across the surface, and the sheer scale of ancient blue ice stretching to the horizon is genuinely humbling.
Glacier trekking in Patagonia is accessible but requires methodical preparation for both safety and enjoyment.
Whether you’re a first-timer lacing up boots for a mini-trek on Perito Moreno or a seasoned trekker eyeing a longer route on Viedma, this guide walks you through every step, from gear and fitness to safety protocols and the moment you raise a glass of glacier ice whisky on the ice itself.
Table of Contents
What to expect from glacier trekking in Patagonia
Essential gear and preparation checklist
Safety essentials and understanding glacier risks
Step-by-step guide: The glacier trekking experience
A guide’s perspective: Respecting the ice and learning from Patagonia
Ready to trek Patagonia’s glaciers? Start your adventure here
Frequently asked questions
Key Takeaways
Point | Details |
|---|---|
Guided tours are safest | Stick with certified guides for the best balance of adventure, learning, and safety on Patagonia’s glaciers. |
Proper gear is essential | Layered clothing, waterproof boots, and sunglasses are non-negotiable for trekking comfort and safety. |
Respect glacier risk | Even accessible mini-treks demand caution—serious hazards exist beneath the ice, and advanced routes require expert training. |
Preparation enhances experience | Investing in fitness, packing well, and mentally preparing will make your glacier trek more enjoyable and memorable. |
What to expect from glacier trekking in Patagonia
Patagonia’s glaciers are not just scenic backdrops. They are living, moving rivers of ice, and trekking them is a structured, guided experience that balances raw wilderness with managed safety. Most visitors encounter three iconic glaciers: Perito Moreno in Argentina’s Los Glaciares National Park, Viedma glacier nearby, and Grey glacier in Chile’s Torres del Paine. Each offers guided trekking tours suited to different fitness levels and timeframes.
Here’s a quick comparison to help you choose:
Glacier | Location | Trek type | Difficulty | Highlights |
|---|---|---|---|---|
Perito Moreno | El Calafate, Argentina | Mini-trek (3 km) | Easy to moderate | Crevasses, ice whisky toast |
Viedma | El Chaltén, Argentina | Ice trek | Moderate | Remote setting, seracs |
Grey | Torres del Paine, Chile | Guided day trek | Moderate | Turquoise icebergs, Patagonian views |
A standard guided glacier trek on Perito Moreno typically unfolds like this: a boat transfer across Lago Argentino, a short land walk through lenga beech forest, crampon fitting on the glacier’s edge, a 1 to 1.5 hour ice walk covering 3 km, crevasse exploration, a glacier ice whisky toast, and a forest return. The whole experience runs around 4 to 5 hours from departure.
Key things to know before you go:
Minimum age is typically 10 years old; maximum age is around 65, though this varies by operator
Group sizes are kept small, usually 10 to 15 people per guide
Terrain ranges from flat ice fields to uneven ridges and narrow crevasse edges
Weather can shift rapidly, so tours may be modified or rescheduled
For broader context on what Patagonia trekking looks like across different landscapes, it helps to understand that glacier treks are just one thrilling chapter in a much larger adventure story. Check the full range of Patagonia travel guides to plan the rest of your trip around the ice.
Essential gear and preparation checklist
Before you head onto the glacier, you’ll need the right gear and preparation. Patagonia’s weather is famously unpredictable. Temperatures on the ice can drop sharply even on a clear morning, and wind chill makes conditions feel far colder than the thermometer suggests. Getting your kit right is not optional.
Preparation requires sturdy waterproof boots compatible with crampon attachment, layered clothing, gloves, hats, and sunglasses, plus moderate physical fitness. Here’s how gear needs break down between a mini-trek and advanced glacier travel:
Item | Mini-trek | Advanced trek |
|---|---|---|
Waterproof boots | Required | Required |
Crampons | Provided by operator | Personal or provided |
Insulated jacket | Essential | Essential |
Harness and rope | Not needed | Required |
Ice axe | Not needed | Required |
Crevasse rescue kit | Not needed | Required |
For your day bag, pack the following:
Water (at least 1 liter; dehydration is easy to miss in cold air)
High-energy snacks (nuts, energy bars, chocolate)
Sunscreen (UV reflection off ice is intense)
Camera or phone in a waterproof case
Valid ID and your tour confirmation
Small first aid kit for blisters or minor cuts
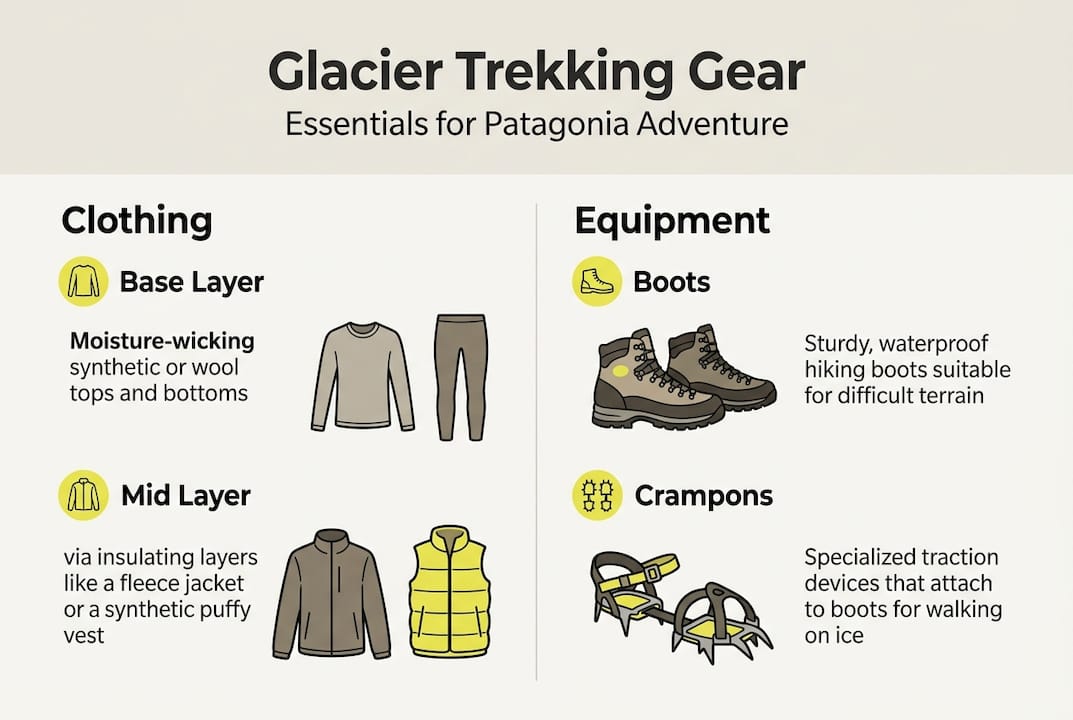
Your clothing system should follow a three-layer approach: a moisture-wicking base layer, a mid-layer fleece or down jacket for insulation, and a waterproof shell on the outside. Waterproof pants are strongly recommended. Cotton is a poor choice because it holds moisture and loses warmth quickly when wet.
For a detailed breakdown of what to pack for every Patagonia adventure, the Patagonia gear guide is an excellent starting point. And if you want to understand how Patagonia’s weather shapes every decision you make in the field, that guide covers the seasonal patterns in real depth.
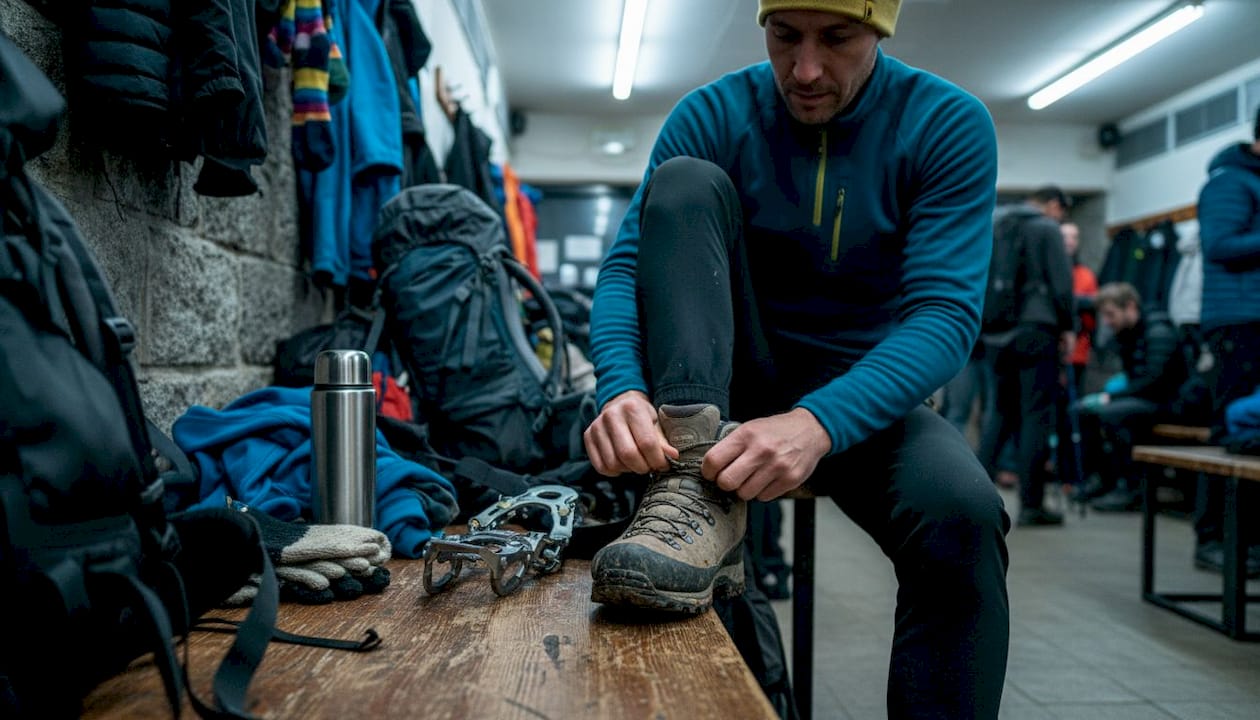
Pro Tip: Wear your trekking boots on the plane or bus to El Calafate. Breaking in stiff waterproof boots before your glacier day prevents painful blisters on the ice.
Safety essentials and understanding glacier risks
With gear ready, understanding the safety principles of glacier trekking is essential. The good news is that guided mini-treks on Patagonia’s major glaciers are genuinely safe experiences when you follow your guide’s instructions. The risk comes when people underestimate the environment or venture beyond designated routes.
Certified guides maintain a 1:10 ratio, provide crampons, deliver walking technique briefings, probe snow for hidden hazards, and keep groups on established safe routes. That briefing at the start is not a formality. It covers everything you need to move confidently on ice.
Here’s what a standard safety briefing covers:
Flat-foot walking technique to maximize crampon contact with ice
Short, deliberate steps to maintain balance on uneven surfaces
Group spacing rules to prevent chain-reaction falls
Snow probing by guides to check for hidden voids
Emergency signals and what to do if someone slips
Solo glacier trekking is strongly discouraged and, on most managed glaciers in Patagonia, simply not permitted. The reason is straightforward: crevasses can reach 45 meters deep and 20 meters wide, and advanced routes carry serious risks that only highly trained parties should attempt.
For safe glacier trekking experiences that keep you on the right side of those risks, always book with a licensed operator and resist the urge to wander off-route for a better photo angle.
Pro Tip: If you feel unsteady during the crampon walk, tell your guide immediately. Adjustments to your technique or crampon fit take less than two minutes and make a massive difference to your confidence on the ice.
Step-by-step guide: The glacier trekking experience
With safety knowledge in mind, it’s time to discover how a glacier trek unfolds, step by step. Standard tours follow a clear sequence: group assembly, boat ride, land walk, crampon fitting, guided ice walk of 1 to 1.5 hours, glacier ice whisky toast, and return through forest. Knowing what’s coming helps you stay present and enjoy each stage.
Arrival and check-in (30 minutes before departure): Meet your guide, sign waivers, and receive a gear check. This is also when you ask any last-minute questions.
Boat transfer: A short, scenic boat ride brings you face to face with the glacier’s towering ice wall. The scale is genuinely staggering.
Land walk through forest: A 15 to 20 minute walk through lenga beech forest builds anticipation and lets your legs warm up before the ice.
Crampon fitting: Guides fit steel crampons to your boots at the glacier’s edge. Take note of how they attach so you can flag any looseness during the walk.
Ice walk begins: Your guide leads the group onto the glacier. Focus on flat-foot technique, keep your eyes on the ice ahead, and resist the urge to rush.
Crevasse and serac exploration: Guides take you to safe vantage points near crevasses and towering seracs (ice pillars). The blue color of deep glacier ice is otherworldly.
Glacier ice whisky toast: At a rest point on the ice, your guide chips fresh glacier ice for your whisky. It’s a small ritual, but one that feels deeply earned.
Forest return and debrief: The return walk through forest gives your legs a rest and your mind time to absorb what just happened.
For photography, the best light on Patagonian glaciers is in the morning. Book the earliest available tour slot when possible. The best trek seasons for glacier trekking run from November through March, when days are longest and conditions are most stable.
Pro Tip: Resist pulling out your camera during the crampon walk itself. Pause at designated rest points to photograph safely. A dropped phone on ice is a hazard for everyone behind you.
A guide’s perspective: Respecting the ice and learning from Patagonia
Here’s something that guides see repeatedly: travelers who complete a mini-trek and leave thinking they now understand glaciers. The mini-trek is a brilliant introduction, but it can create a false sense of familiarity with an environment that is genuinely unforgiving beneath the surface.
The ice you walk on during a guided tour is carefully selected. Just meters away from your path, conditions can change dramatically. The Patagonia adventure wisdom that experienced guides carry comes from years of reading ice, weather, and group dynamics simultaneously.
What trekkers most often wish they’d done differently? Listened more during the briefing. Worn better boots. Left the bravado at the dock. The people who get the most from a glacier trek are the ones who treat the guide as a genuine expert, ask questions, and move with intention rather than speed. Patagonia rewards humility. The ice does not care about your hiking resume. Adaptability and attentiveness are worth far more than fitness alone on a glacier.
Ready to trek Patagonia’s glaciers? Start your adventure here
Inspired to experience Patagonia’s glaciers for yourself? Here’s how to make it happen.
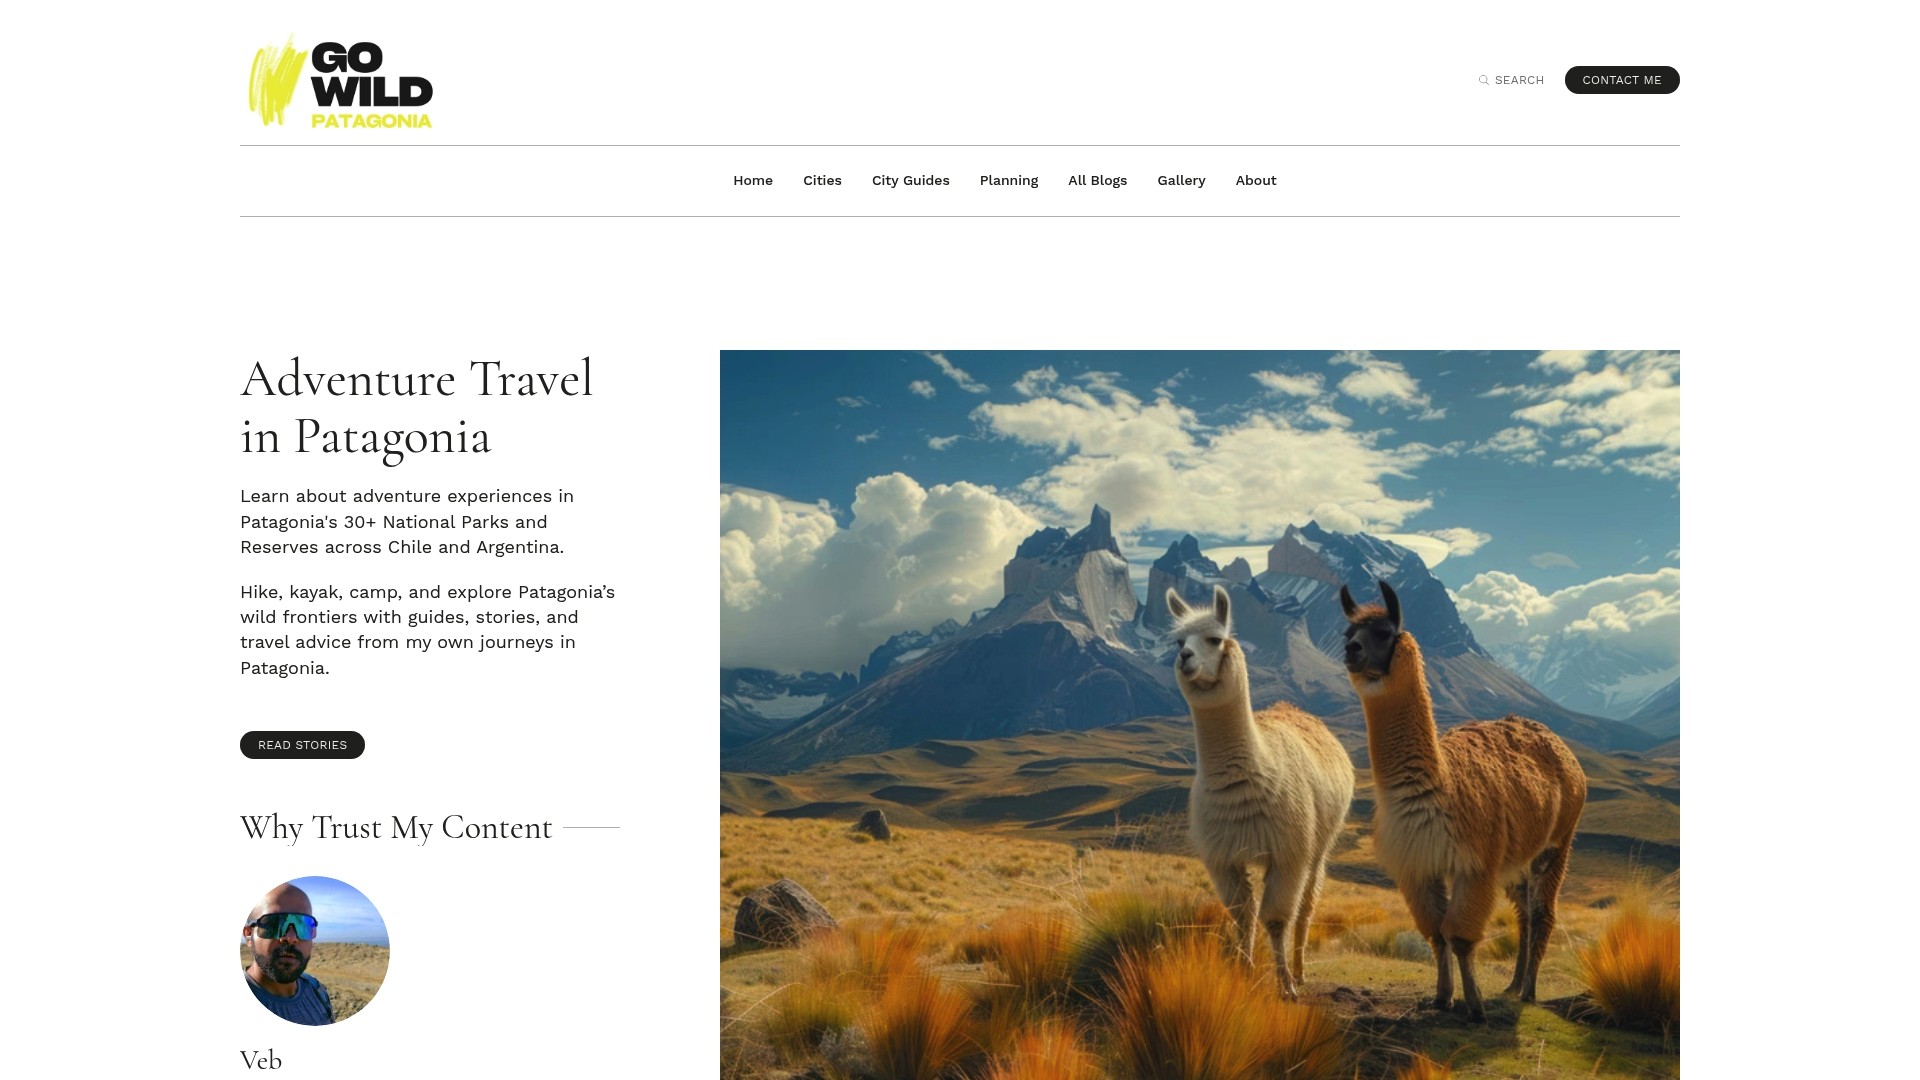
Go Wild Patagonia connects adventure travelers with trusted local operators, in-depth destination guides, and practical planning tools built specifically for Patagonia. Whether you’re starting your journey in El Calafate, the gateway to Perito Moreno and the southern ice fields, or planning a broader Patagonia adventure, the site gives you everything you need to plan with confidence. From gear checklists to booking tips and firsthand route knowledge, Go Wild Patagonia is the resource that turns a dream glacier trek into a well-planned, unforgettable reality.
Frequently asked questions
Do I need prior experience to join a glacier trekking tour in Patagonia?
No prior experience is needed for guided mini-treks, but you should be in good physical condition to handle uneven terrain and variable weather comfortably.
What clothing and gear are required for glacier trekking?
Sturdy waterproof boots, layered clothing, gloves, a hat, and sunglasses are essential; your tour operator will provide crampons and any technical safety gear.
How dangerous is glacier trekking in Patagonia?
Guided tours are very safe because certified guides control routes and avoid high-risk zones, but crevasses up to 45 meters deep make independent or advanced routes genuinely hazardous without proper training.
What are the top glacier trekking locations in Patagonia?
Perito Moreno, Grey, and Viedma glaciers are the most popular and accessible locations for guided trekking tours in Patagonia.
Recommended
About Me
Veb
Hey there! I’m Veb and I've traveled solo and in groups for 10+ years in Patagonia - across Chile and Argentina.
I started Go Wild Patagonia with a desire to help other travelers plan their journeys in Patagonia with a focus on adventure, nature and being in the wilderness.
Say Thanks
Support my mission to make Patagonia more accessible for travelers while supporting local tour operators who organize only sustainable travels in Patagonia.
Read More
Chubut Province, Argentina — Cathedral of Ancient Trees Overview Los Alerces National Park protects 263,000 hectares of pristine Valdivian rainforest in Argentine Patagonia, home to some of the oldest living trees on Earth. The park's namesake—the alerce tree (Fitzroya cupressoides)—can live over 3,000 years, rivaling California's sequoias and bristlecone pines.
Update on Oct 24, 2025

El Bolsón offers world-class hiking: Refugio Hielo Azul and Refugio Cajón del Azul sit in alpine cirques accessible via multi-day treks, Cerro Piltriquitrón (2,284m) provides panoramic summit views, and Cajón del Azul's turquoise canyon ranks among Patagonia's most photographed day hikes.
Update on Oct 24, 2025

Monte Leon National Park is Argentina's first coastal national park, protecting 40 km of dramatic Atlantic shoreline where the Patagonian steppe meets the sea.
Update on Oct 24, 2025
