
Ultimate Torres del Paine Adventure Guide: W Trek, O Circuit & Everything In Between
Whether you're deciding between the W Trek and the O Circuit, trying to figure out the booking system before it defeats you, or planning the Base Torres push for the very first time — this covers everything you need to actually do this right.
Ultimate Torres del Paine Adventure Guide: W Trek, O Circuit & Everything In Between
By Go Wild Patagonia
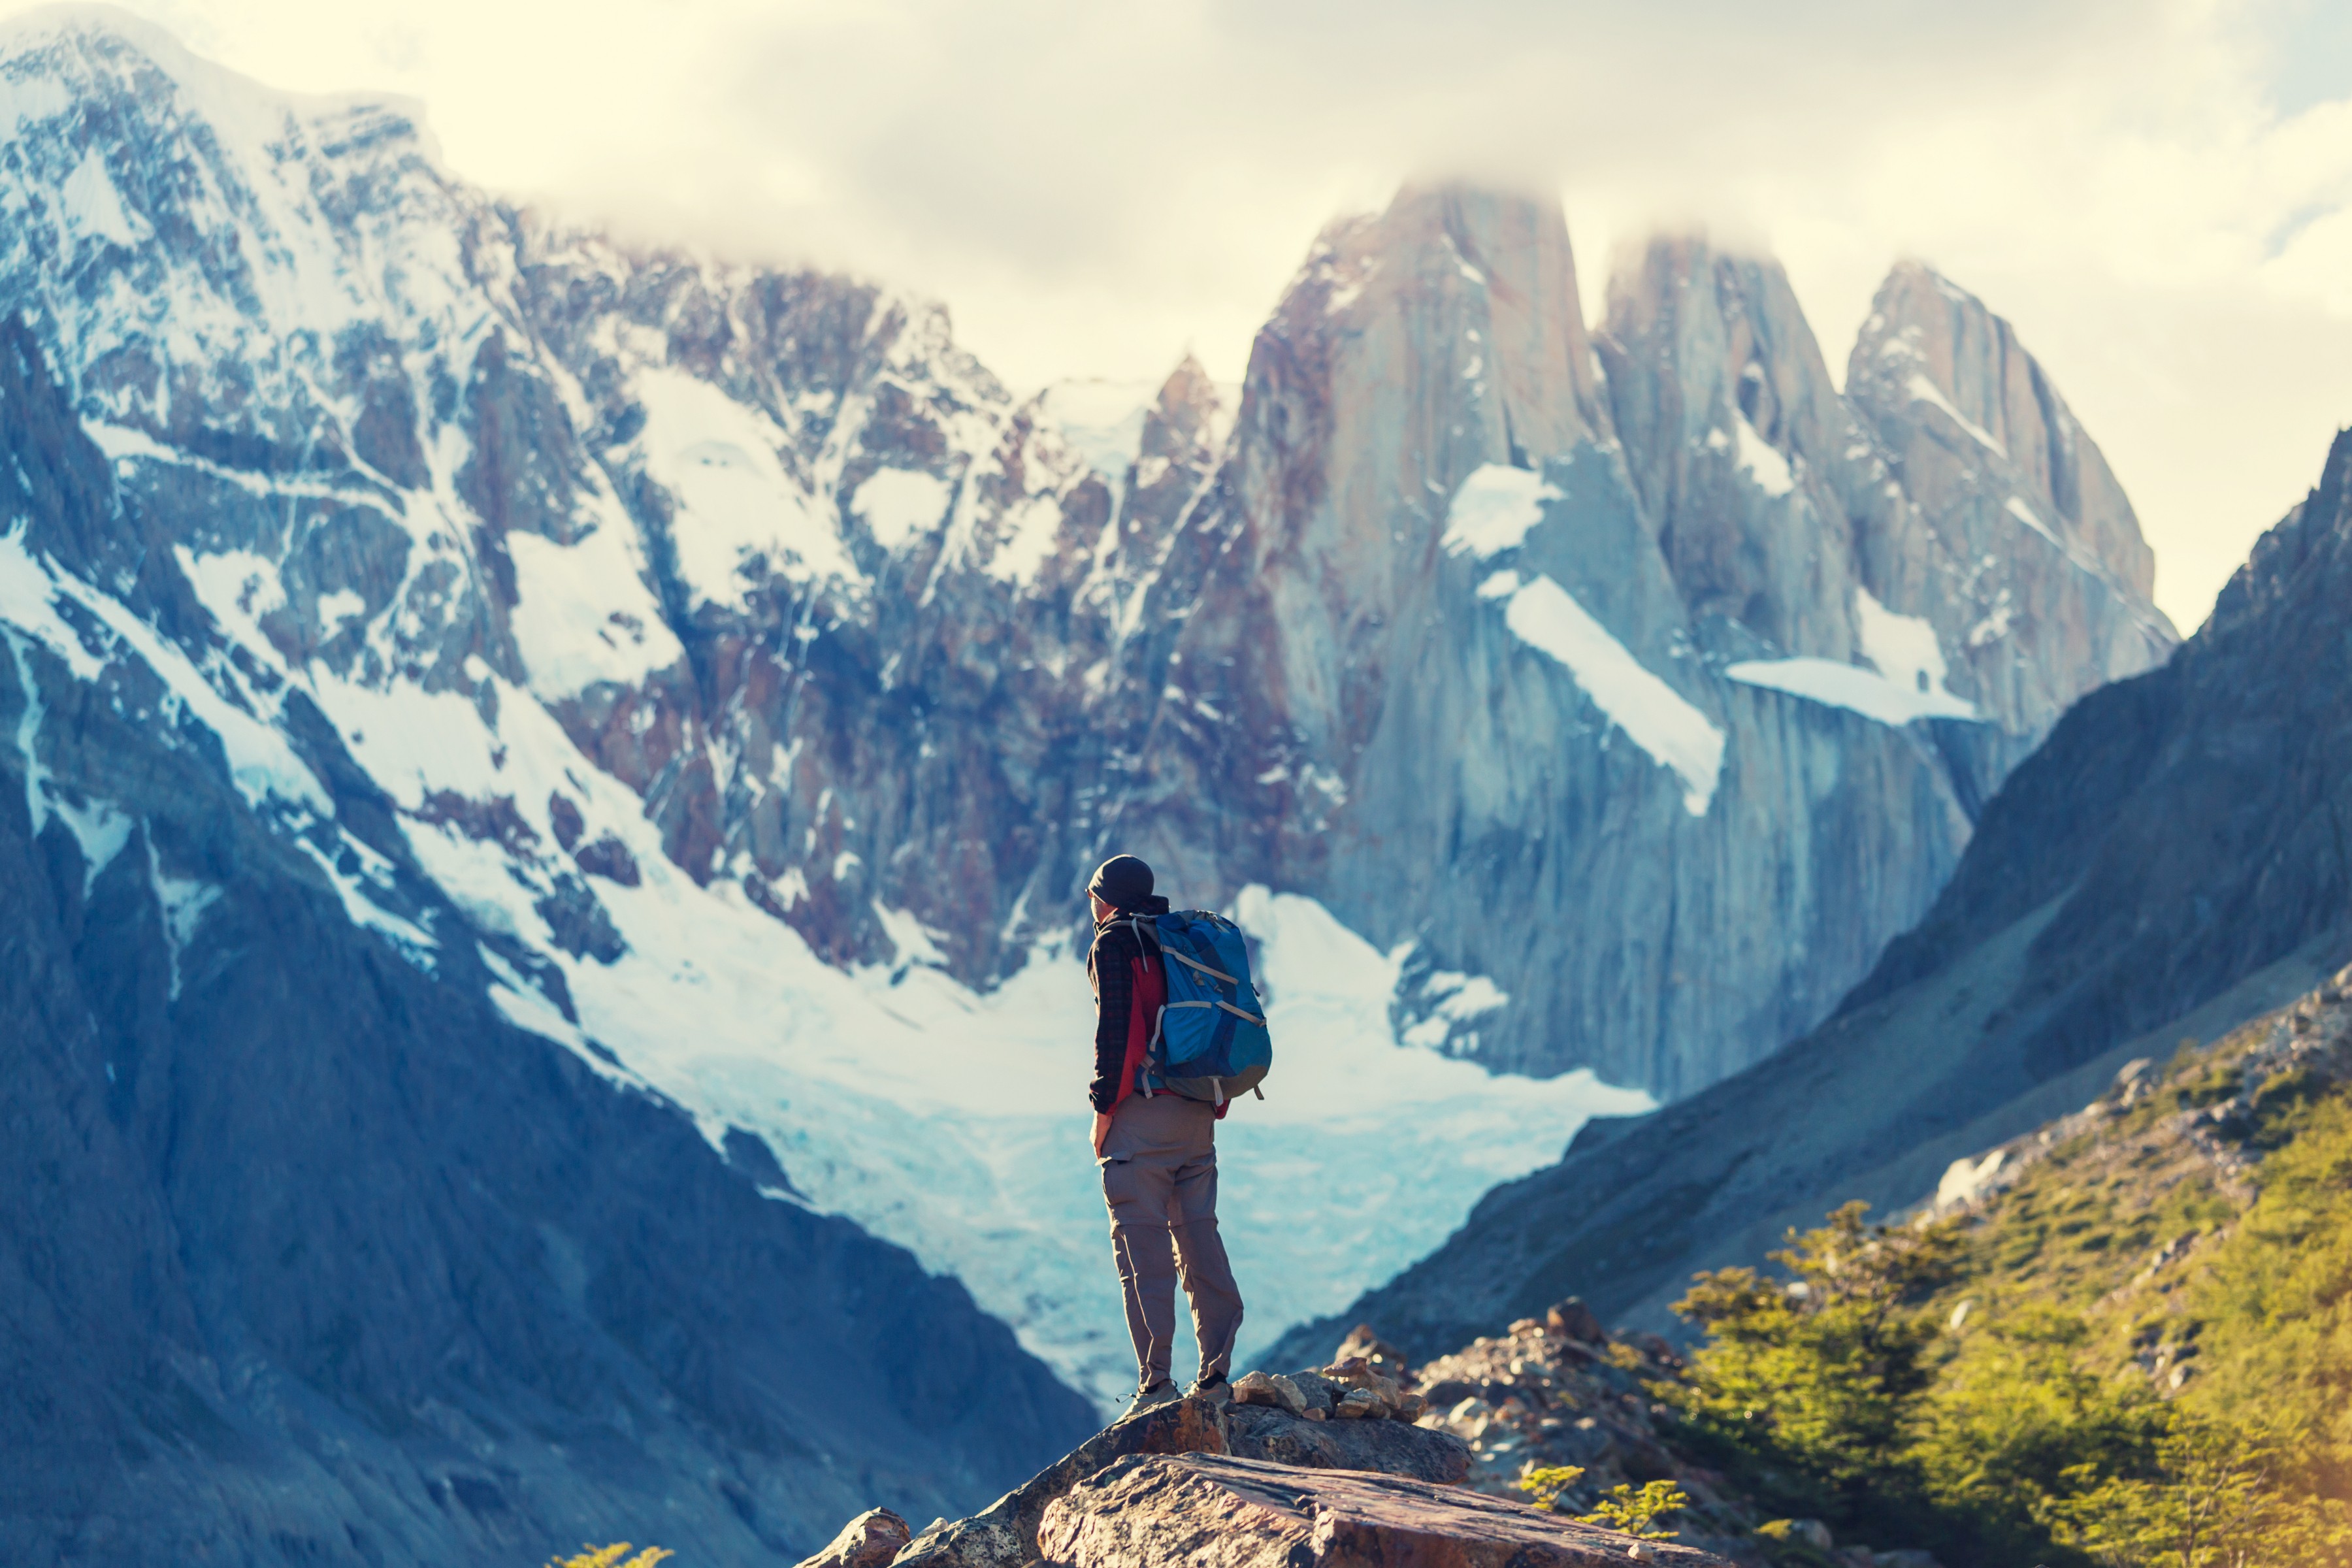
I remember standing at the mirador at 6:15am, completely alone, watching the first light hit the Torres. The sky was doing that thing it does in Patagonia — going from deep purple to orange in about four minutes — and the granite towers caught it all. Below me, the cirque lake was dead still. Behind me, the wind was already starting to build.
That moment is why people fly halfway around the world to be here.
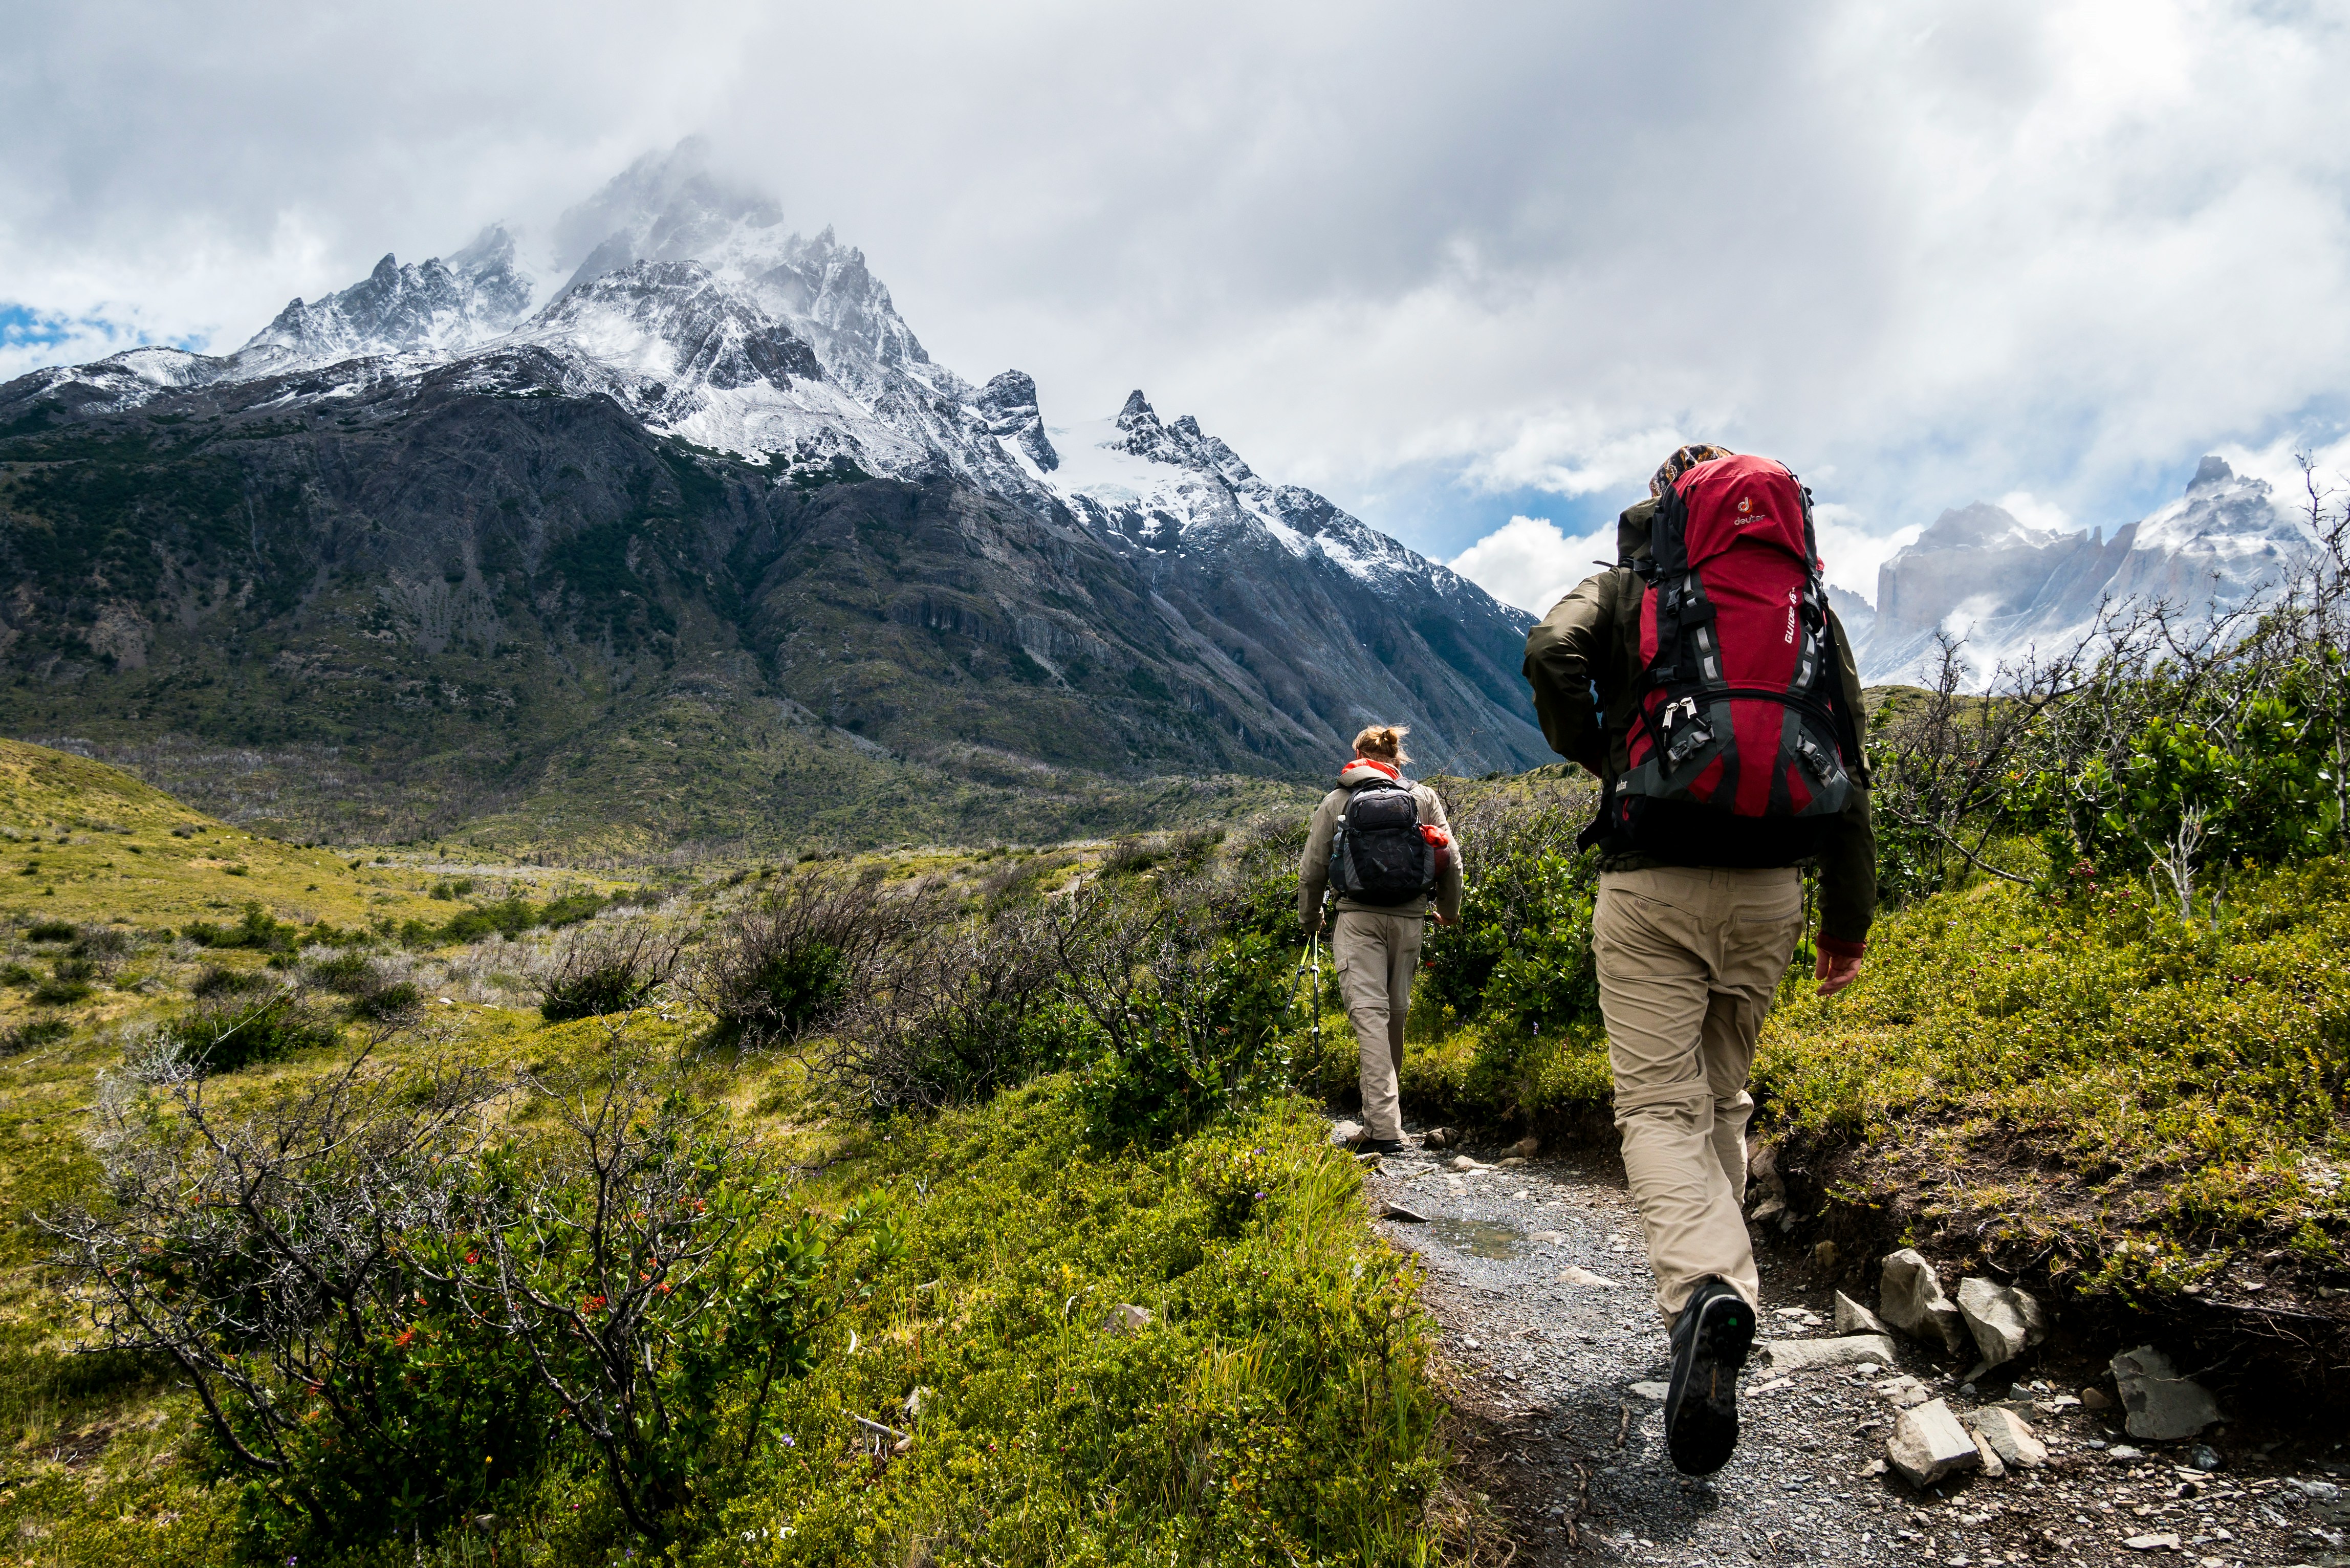
But I also remember the afternoon on Day 3 of my first W Trek when the wind was so strong I had to lean into it at 45 degrees just to walk, when the rain was coming sideways, and my waterproof jacket was proving it wasn't quite as waterproof as the tag claimed. Torres del Paine is extraordinary and brutal in equal measure, and anyone planning a trip here deserves a guide that's honest about both.
This is that guide. Whether you're deciding between the W Trek and the O Circuit, trying to figure out the booking system before it defeats you, or planning the Base Torres push for the very first time — this covers everything you need to actually do this right.
What Makes Torres del Paine Different
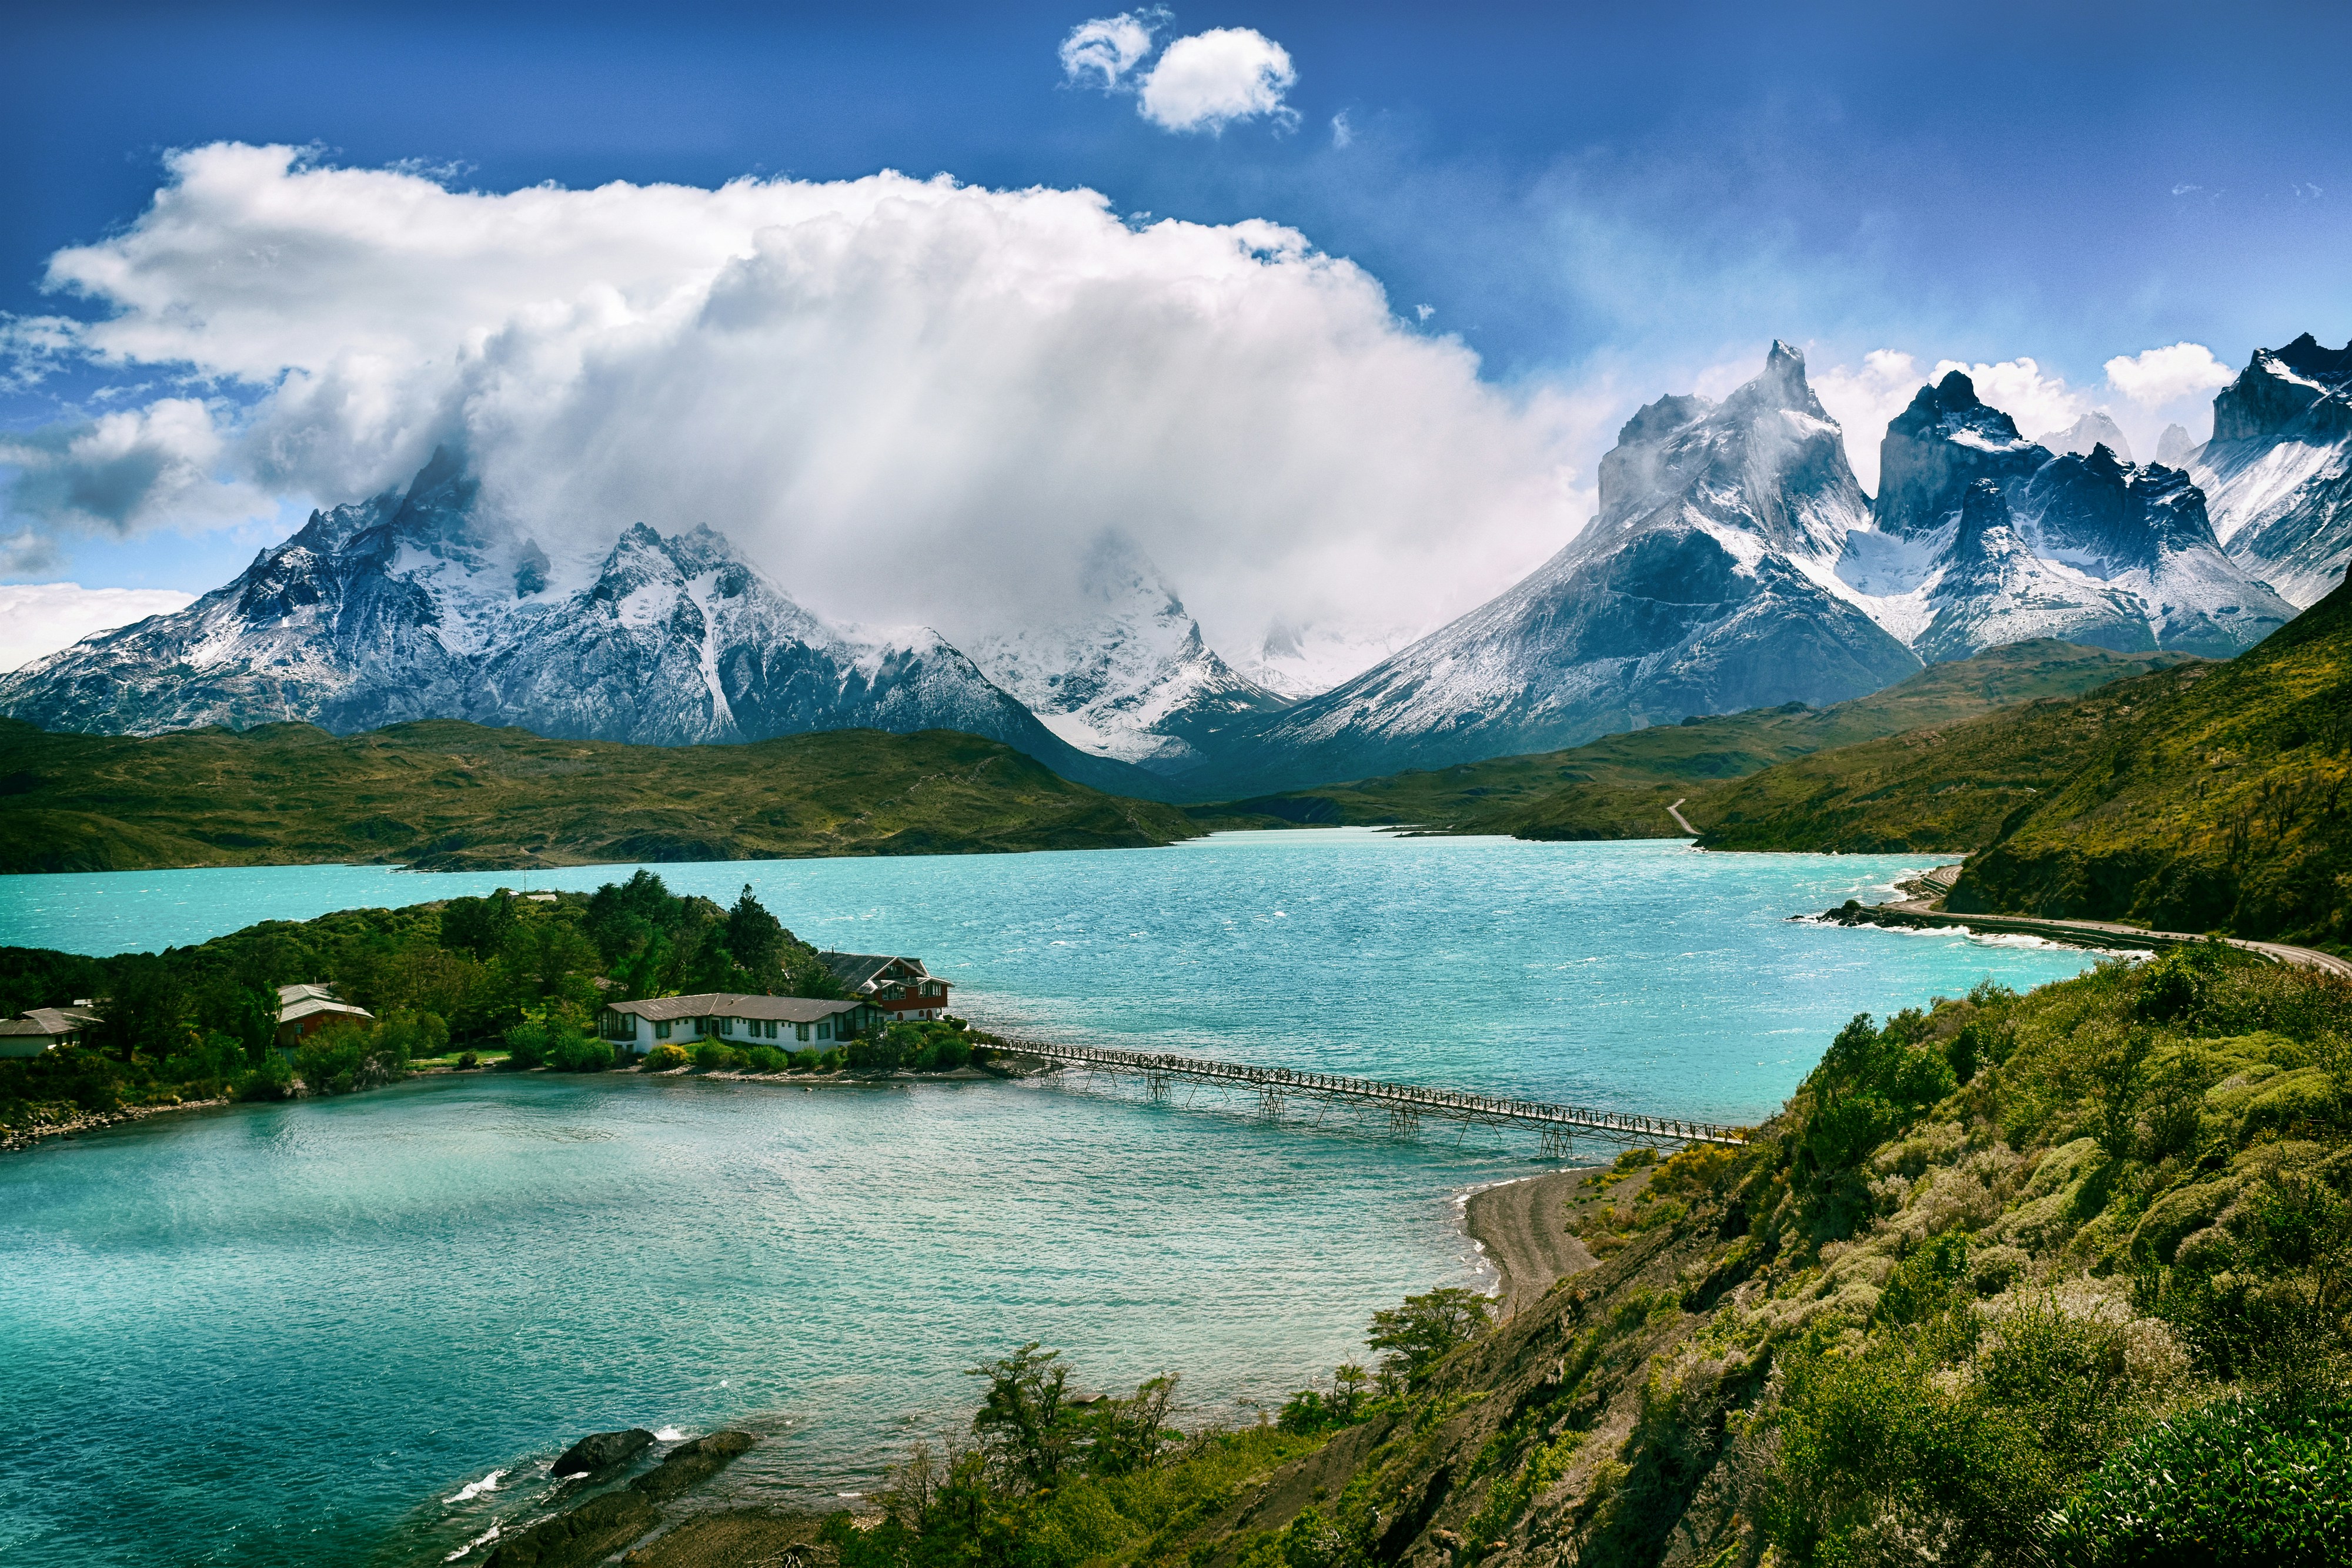
Torres del Paine National Park sits in the far south of Chilean Patagonia, about 150 km north of Puerto Natales and 300 km from Punta Arenas. The park covers just under 250,000 hectares, and the centrepiece is the Paine Massif — a cluster of peaks, towers, and horns that erupted from the earth around 12 million years ago and were carved by glaciers into the shapes you've seen on every Patagonia poster.
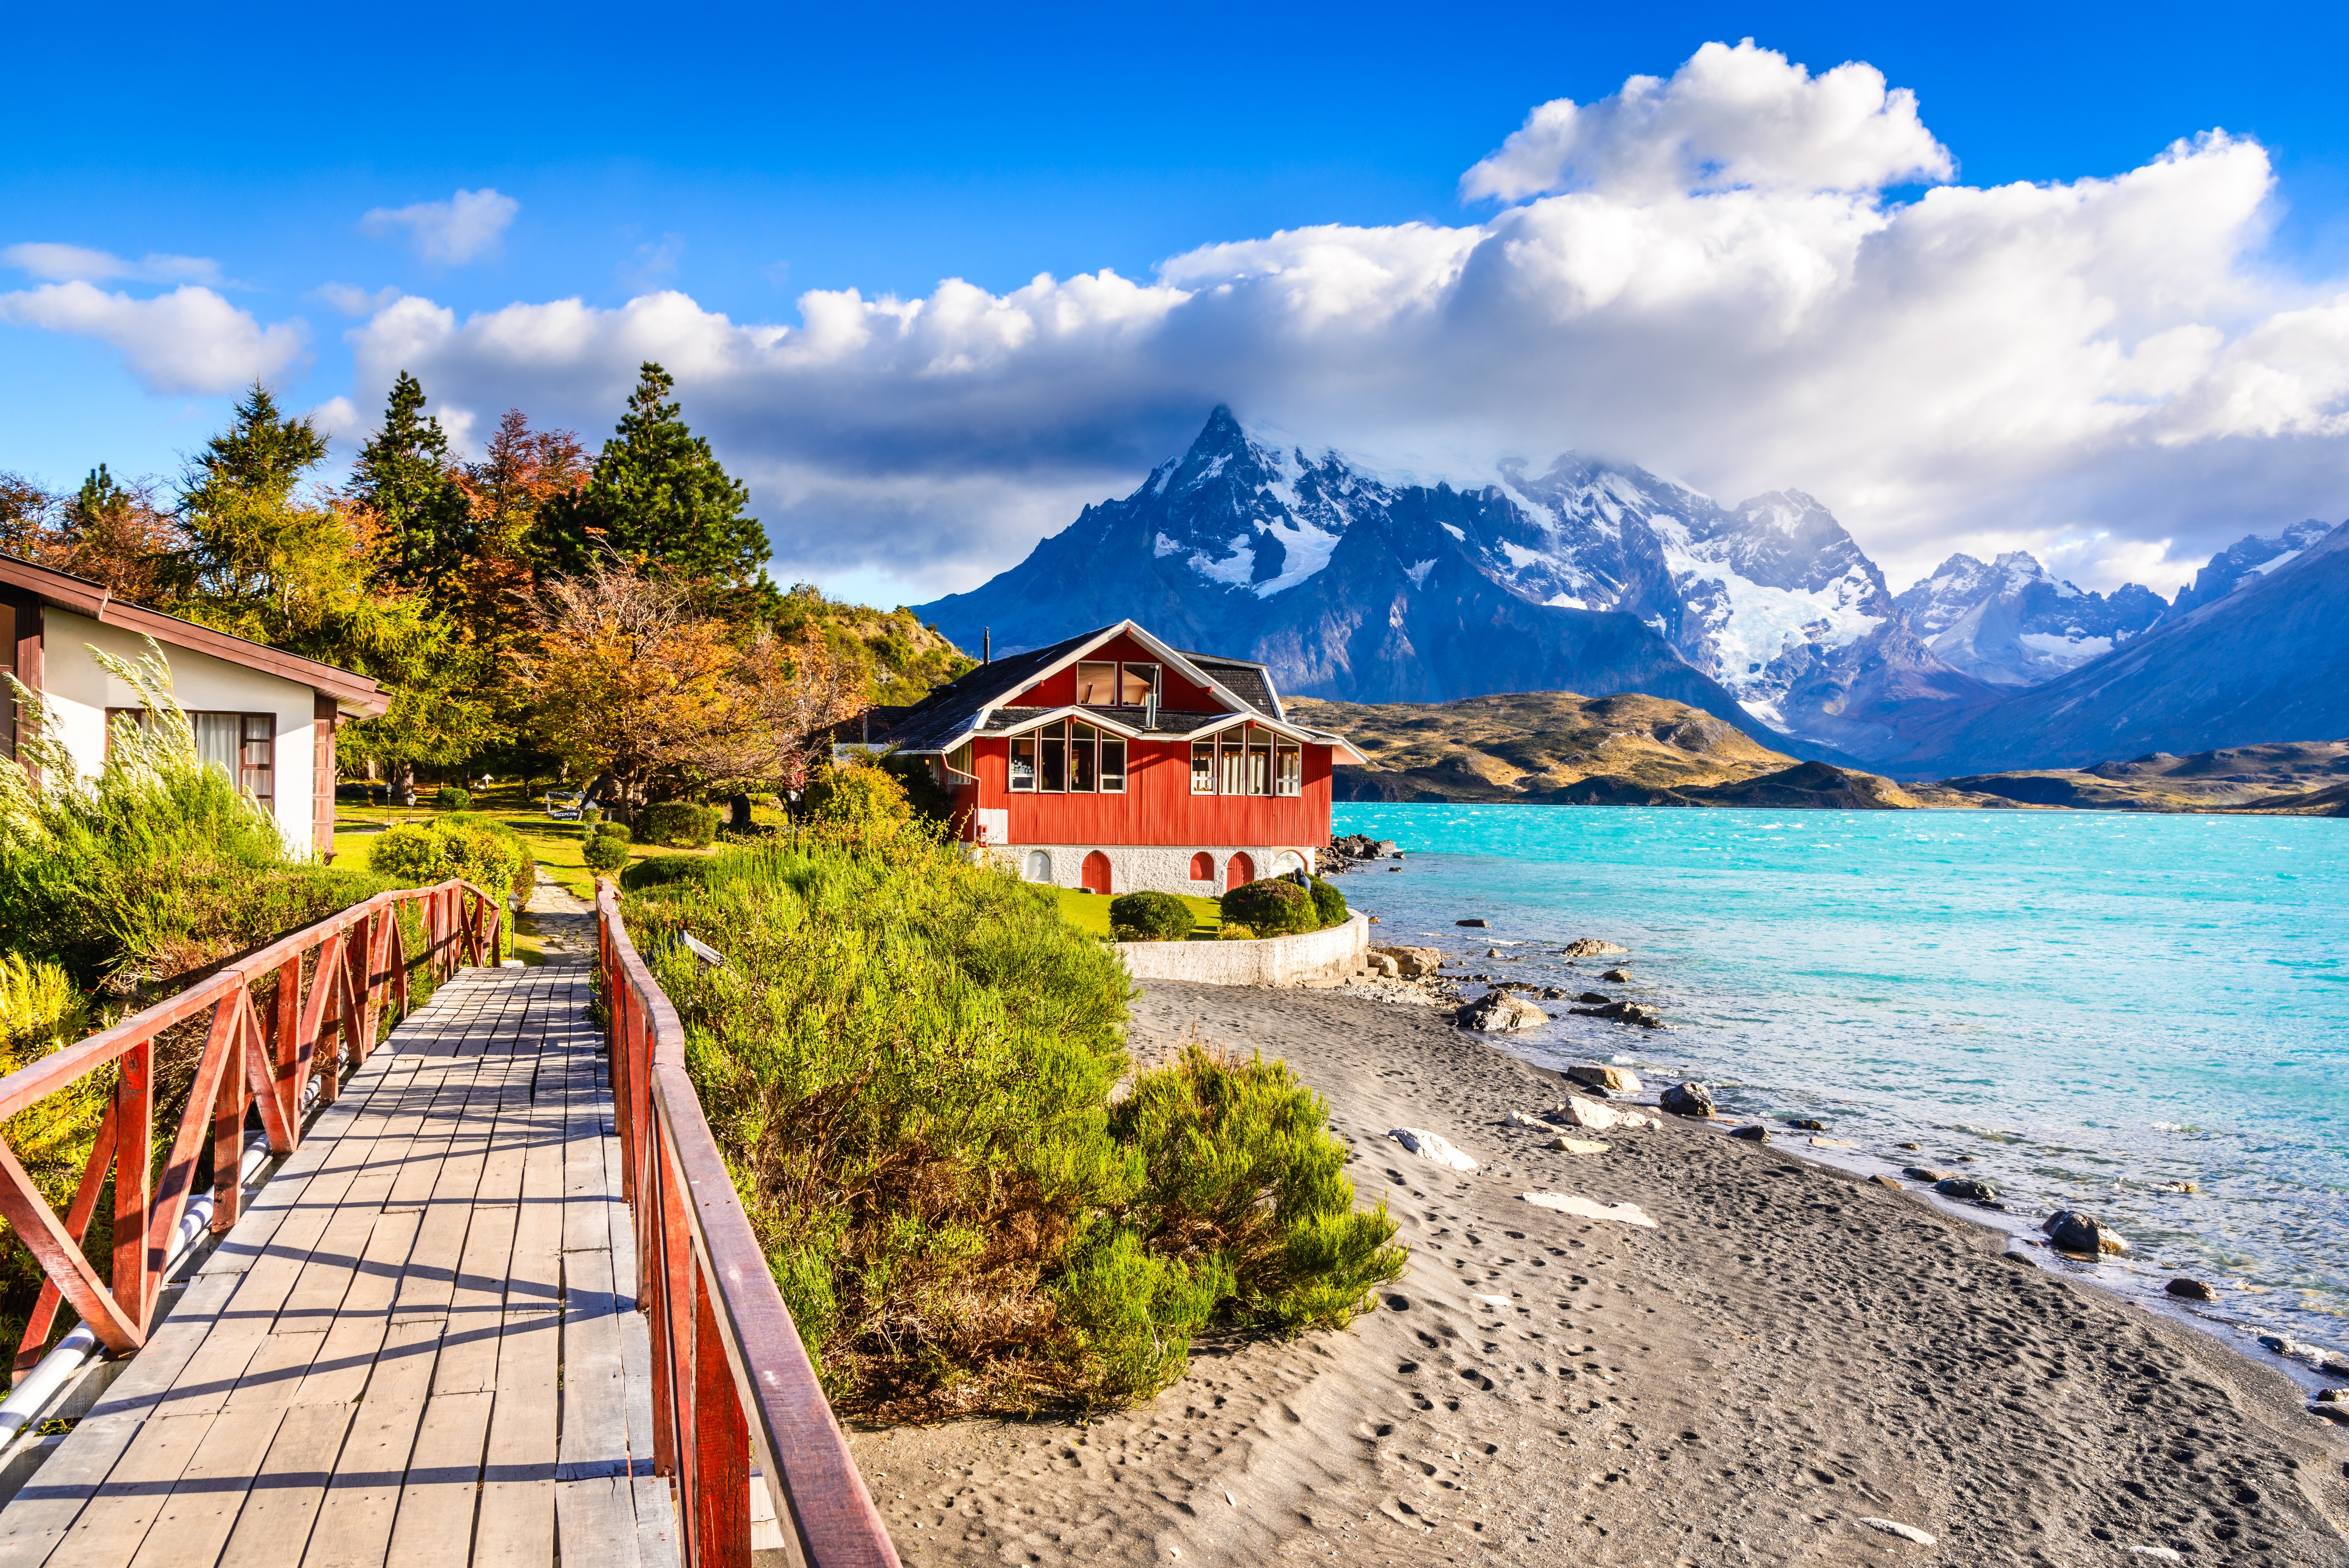
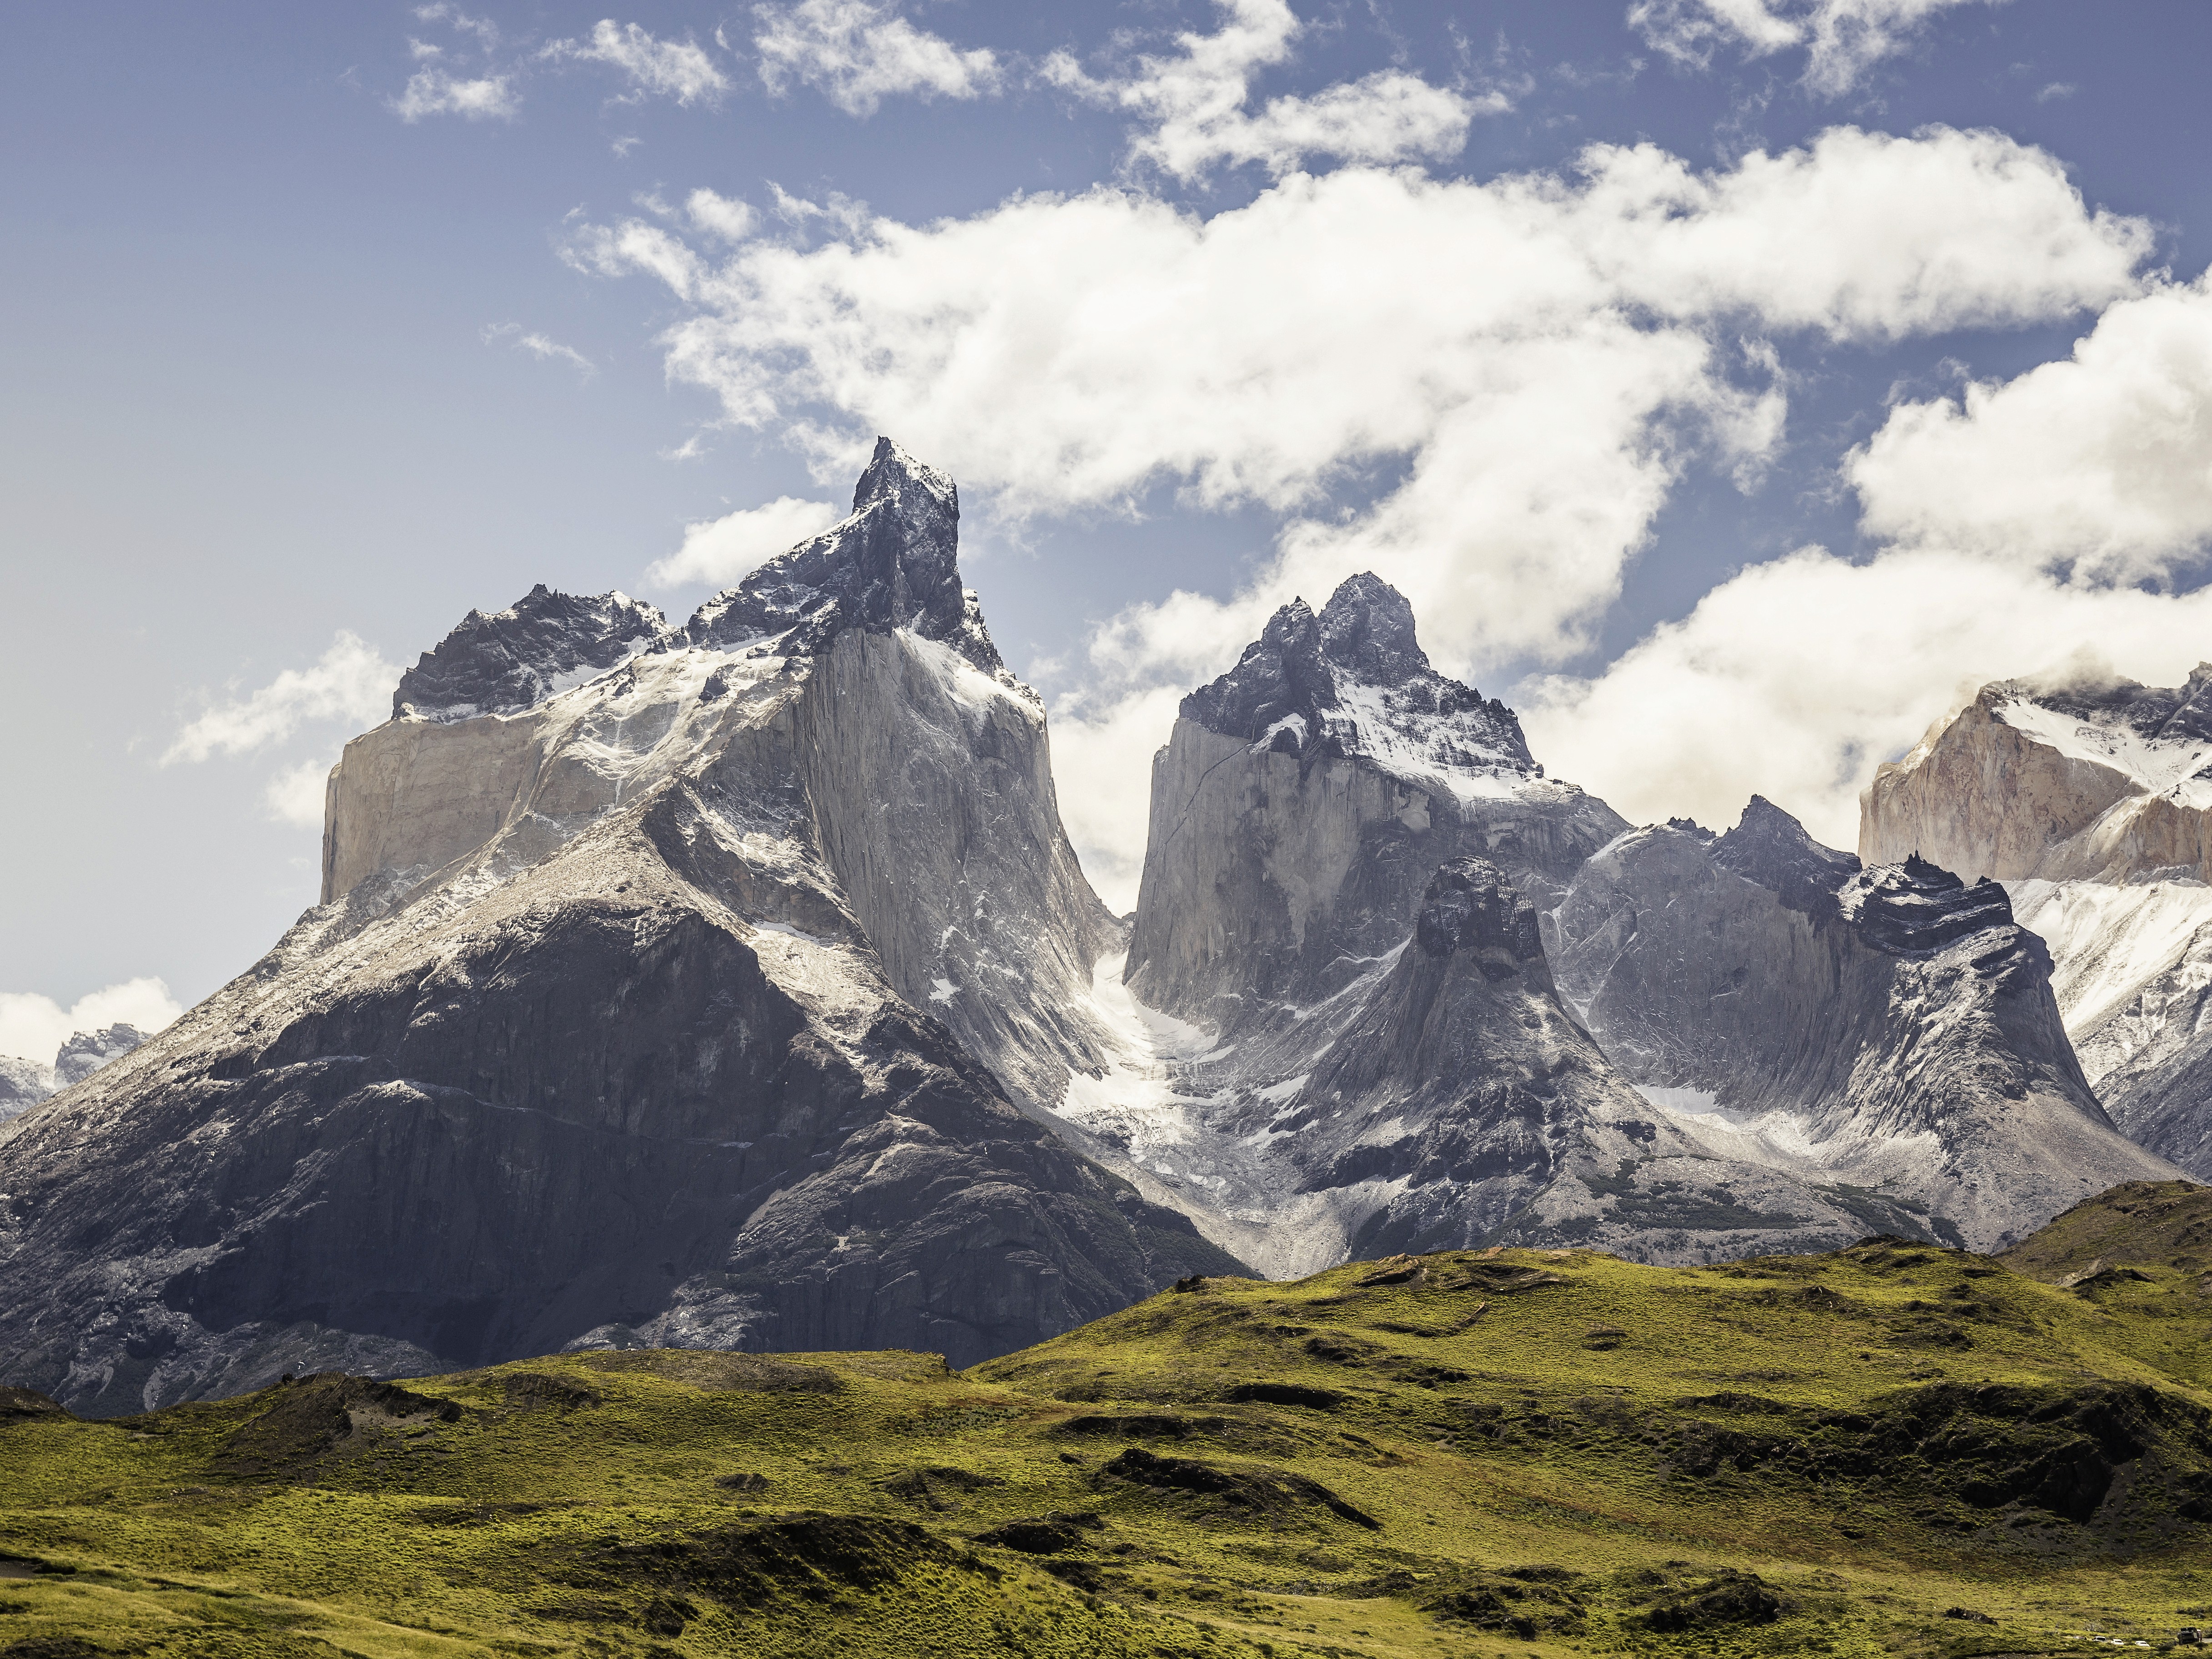
The three granite towers — Sur, Central, and Norte — rise nearly 2,500 metres above sea level. The Cuernos del Paine (the "horns") have that distinctive two-tone look because they're made from two different rock types: dark sedimentary rock on top, pale granite below. The whole massif sits above turquoise glacial lakes, ancient beech forests, and vast open steppe. It's one of those landscapes that genuinely looks like it was designed.
What distinguishes TdP from other great trekking destinations isn't just the scenery — it's the weather. The park sits in a geographic funnel where cold air masses from the Pacific and warmer air from the Atlantic collide constantly. Winds regularly hit 80–100 km/h, and gusts well above that are not unusual. The "four seasons in one day" cliché is not marketing copy here; it's a planning reality. A morning that starts clear and calm can turn into horizontal sleet by noon, and be sunny again by 4pm. You'll experience this, probably multiple times.
The park also has one of the most regulated trekking systems in South America. Since a catastrophic fire in 2011 — started by a careless camper — CONAF (Chile's national park authority) has introduced advance booking requirements, strict camping designations, and a zero-tolerance policy on fires. This creates a very different experience from somewhere like El Chalten, where you can show up and hike. Here, planning is not optional.
High season (December–February) is busy in a way that surprises first-timers. The W Trek in January can genuinely feel like walking a busy trail in a European national park — not exactly the wilderness solitude people imagine. Shoulder season (November and March) changes that completely. More on timing later.
Choosing Your Route: W Trek or O Circuit?
This is the most important decision you'll make, so let's be clear about what each actually involves.
The W Trek
The W Trek is approximately 80 km, typically completed in 4–5 days, and gets its name from the rough W-shape it traces through the park's three main valleys. Most people walk it west-to-east: starting at Paine Grande (reached by catamaran across Lago Pehoé from Pudeto), heading west to Grey Glacier, returning to Paine Grande, traversing east through Valle del Francés, then continuing to the Base Torres via Campamento Chileno or Refugio Torre Central.
It is not a technical trek. The trails are well-marked, the elevation gains are manageable (the biggest single gain is the approach to Mirador Britanico in the French Valley — roughly 600m), and the refugio infrastructure means you can carry a relatively light pack if you book accommodation rather than camping. That said, "manageable" in Patagonian conditions is different from manageable anywhere else. Long days in serious wind and rain are physically and mentally demanding.
The W Trek is the right choice if you have 4–6 days, this is your first time in TdP, you want to see all the park's iconic highlights, you're comfortable with multi-day hiking but not necessarily experienced wilderness camping, or you want the option of refugio accommodation.
The O Circuit
The O Circuit is the full loop around the Paine Massif — approximately 130 km completed in 8–10 days. It includes the entire W Trek plus the remote northern and western sections that most visitors never see, collectively known as "the backside."
The backside changes the character of the experience completely. The trails are rougher, the waymarking is sparser, facilities are basic camping only, and you'll cross long stretches without seeing many other people. The defining feature is John Garner Pass at 1,241m — a wind-scoured, sometimes snow-covered crossing between the Los Perros valley and the Grey Glacier sector. It's not technically difficult in the mountaineering sense, but it requires some scrambling, a head for exposed terrain, and the confidence to move carefully in challenging conditions.
The O Circuit is the right choice if you have 10–12 days (including buffer time), you have solid multi-day backpacking experience, you want genuine wilderness rather than infrastructure, you can carry 8–10 days of food, and you're excited by the idea of seeing almost no one for several days straight.
Here's a simple way to think about it: the W Trek is a spectacular guided tour of the park's greatest hits. The O Circuit is an expedition. Both are worth doing. They're different experiences.
W Trek | O Circuit | |
|---|---|---|
Distance | ~80 km | ~130 km |
Days | 4–5 | 8–10 |
Daily effort | Moderate | Moderate to hard |
Crowds | High (peak season) | Low on backside |
Technical difficulty | Low–moderate | Moderate–hard |
Accommodation | Refugios or camping | Camping (mostly) |
Booking complexity | High | Very high |
Best for | First-timers, fit hikers | Experienced backpackers |
The W Trek: Day-by-Day
Here's how it actually plays out on the ground.
Day 1: Puerto Natales → Park Entrance → Paine Grande
Most people take the early bus from Puerto Natales to Pudeto (around 7:30–8am, roughly 2.5 hours). From Pudeto, the catamaran crosses Lago Pehoé to Paine Grande lodge — the standard start point for the west-to-east W. The catamaran runs twice a day in high season; confirm current times when you book, because missing it means a long walk around.
Arriving at Paine Grande in the early afternoon, you have time to set up your tent or check into the refugio, eat something proper, and let the scale of the place sink in. The lake in front of you is turquoise. The Cuernos are already visible. Arrive early enough and you'll catch the afternoon light on the glacier to the west. The first evening is also a good moment to talk to people on the trail and get current conditions — refugio staff and rangers are often surprisingly well-informed about what's happening on the passes.
Day 2: Paine Grande → Grey Glacier (and back)
This is a long out-and-back — around 22 km round trip with minimal elevation gain. The trail follows the western shore of Lago Grey, mostly through scrubby vegetation and past exposed lakeside sections. Wind on this stretch can be serious; the lake acts as a channel for westerly gusts and there's nowhere to hide.
The glacier itself is the reward. Grey Glacier is one of the outlets of the Southern Patagonian Ice Field, and where it meets the lake it calves icebergs that drift into the milky blue water. The ice face is extraordinary — deep blues, fractured towers, the occasional thunder-crack of calving. The best light for photography is in the morning before the afternoon cloud and wind build, so if you can time your arrival at the glacier viewpoint for before noon, do it.
Spend as long as you like, then return to Paine Grande. If you're staying at the refugio, dinner is included and worth eating a lot of.
Day 3: Paine Grande → Italiano → Mirador Britanico (Valle del Francés)
This is the most dramatic day on the W Trek, and the one that tends to break people's expectations in the best possible way.
You leave Paine Grande heading east, passing Refugio Cuernos, and begin the long approach to Valle del Francés. The valley reveals itself gradually — first the river, then the walls on either side, then the hanging glaciers visible on the upper reaches of the Cuernos and Paine Grande peak. Campamento Italiano, roughly halfway up the valley, is where you drop your heavy pack if you're continuing to Mirador Britanico.
The push to Britanico is about 4 km each way from Italiano, climbing roughly 600m through increasingly spectacular terrain. Loose rock, some route-finding, occasional boulder scrambling. The mirador itself sits at the head of the valley, surrounded on three sides by hanging glaciers and granite walls. When it's clear — which it isn't always — it's one of the best views in Patagonia.
If weather closes the top of the valley, go as high as conditions allow and turn back when it stops making sense. The approach alone is worth the effort. Don't push into dangerous terrain on an off-chance of a view.
Return to Italiano and continue east to Campamento Los Cuernos or Refugio Los Cuernos for the night. The evening light on the Cuernos from here is often spectacular.
Day 4: Italiano → Chileno
A shorter day, roughly 12–14 km, but don't underestimate it. The trail traverses below the Cuernos on a path that's significantly more exposed to wind than anything on Day 2 or 3. There are sections of narrow ridge with serious gusts; trekking poles earn their keep here.
Refugio Chileno and Campamento Chileno are your destination — the last accommodation stop before the Base Torres. Get settled, eat well, rest your legs, and set an alarm. Day 5 is the reason you came.
Day 5: Chileno → Mirador Las Torres → Out
Set your alarm for 4am. Yes, really.
The trail from Chileno to Mirador Las Torres is about 9 km round trip, gaining roughly 700m in elevation. It's not the distance or the elevation that makes people regret sleeping in — it's the light. The towers face east, which means the first sun hits them at sunrise. If you arrive mid-morning, you're looking at towers in flat daylight. If you arrive around dawn, you watch them go from shadow to pink to gold in about twenty minutes. There's no comparison.
The trail climbs steadily through lenga beech forest before breaking out into a wide boulder field — this is the section people refer to when they talk about "hiking base torres." The boulder field is substantial. Loose, irregular, no trail markings, just cairns. Allow 45–60 minutes to cross it carefully. Don't rush; twisted ankles here mean a miserable exit.
The mirador is at the edge of the cirque lake. The towers rise directly above you. Sit down. Eat something. Let it happen.
The descent back to Chileno and then out to Hotel Las Torres (where buses depart for Puerto Natales) takes the rest of the morning. You'll be tired, you'll be happy, and if the weather cooperated, you'll spend the bus ride home looking at photos you can barely believe you took.
The O Circuit: The Backside Explained
If you're doing the full O, everything above applies — but then you continue where the W Trek turns around.
After the W: What Changes
The conventional way to do the O Circuit is to start at the east end of the park (Hotel Las Torres), complete the W section, and then continue north from Paine Grande into the backside. You could also do it in reverse, but clockwise (as CONAF requires) is the standard.
Once you head north from Paine Grande, the trail character changes. The maintained paths give way to rougher terrain, the waymarking becomes less frequent, and the number of other trekkers drops dramatically. Campamento Seron, Dickson, and Los Perros are your milestones through the backside — all camping only, all basic.
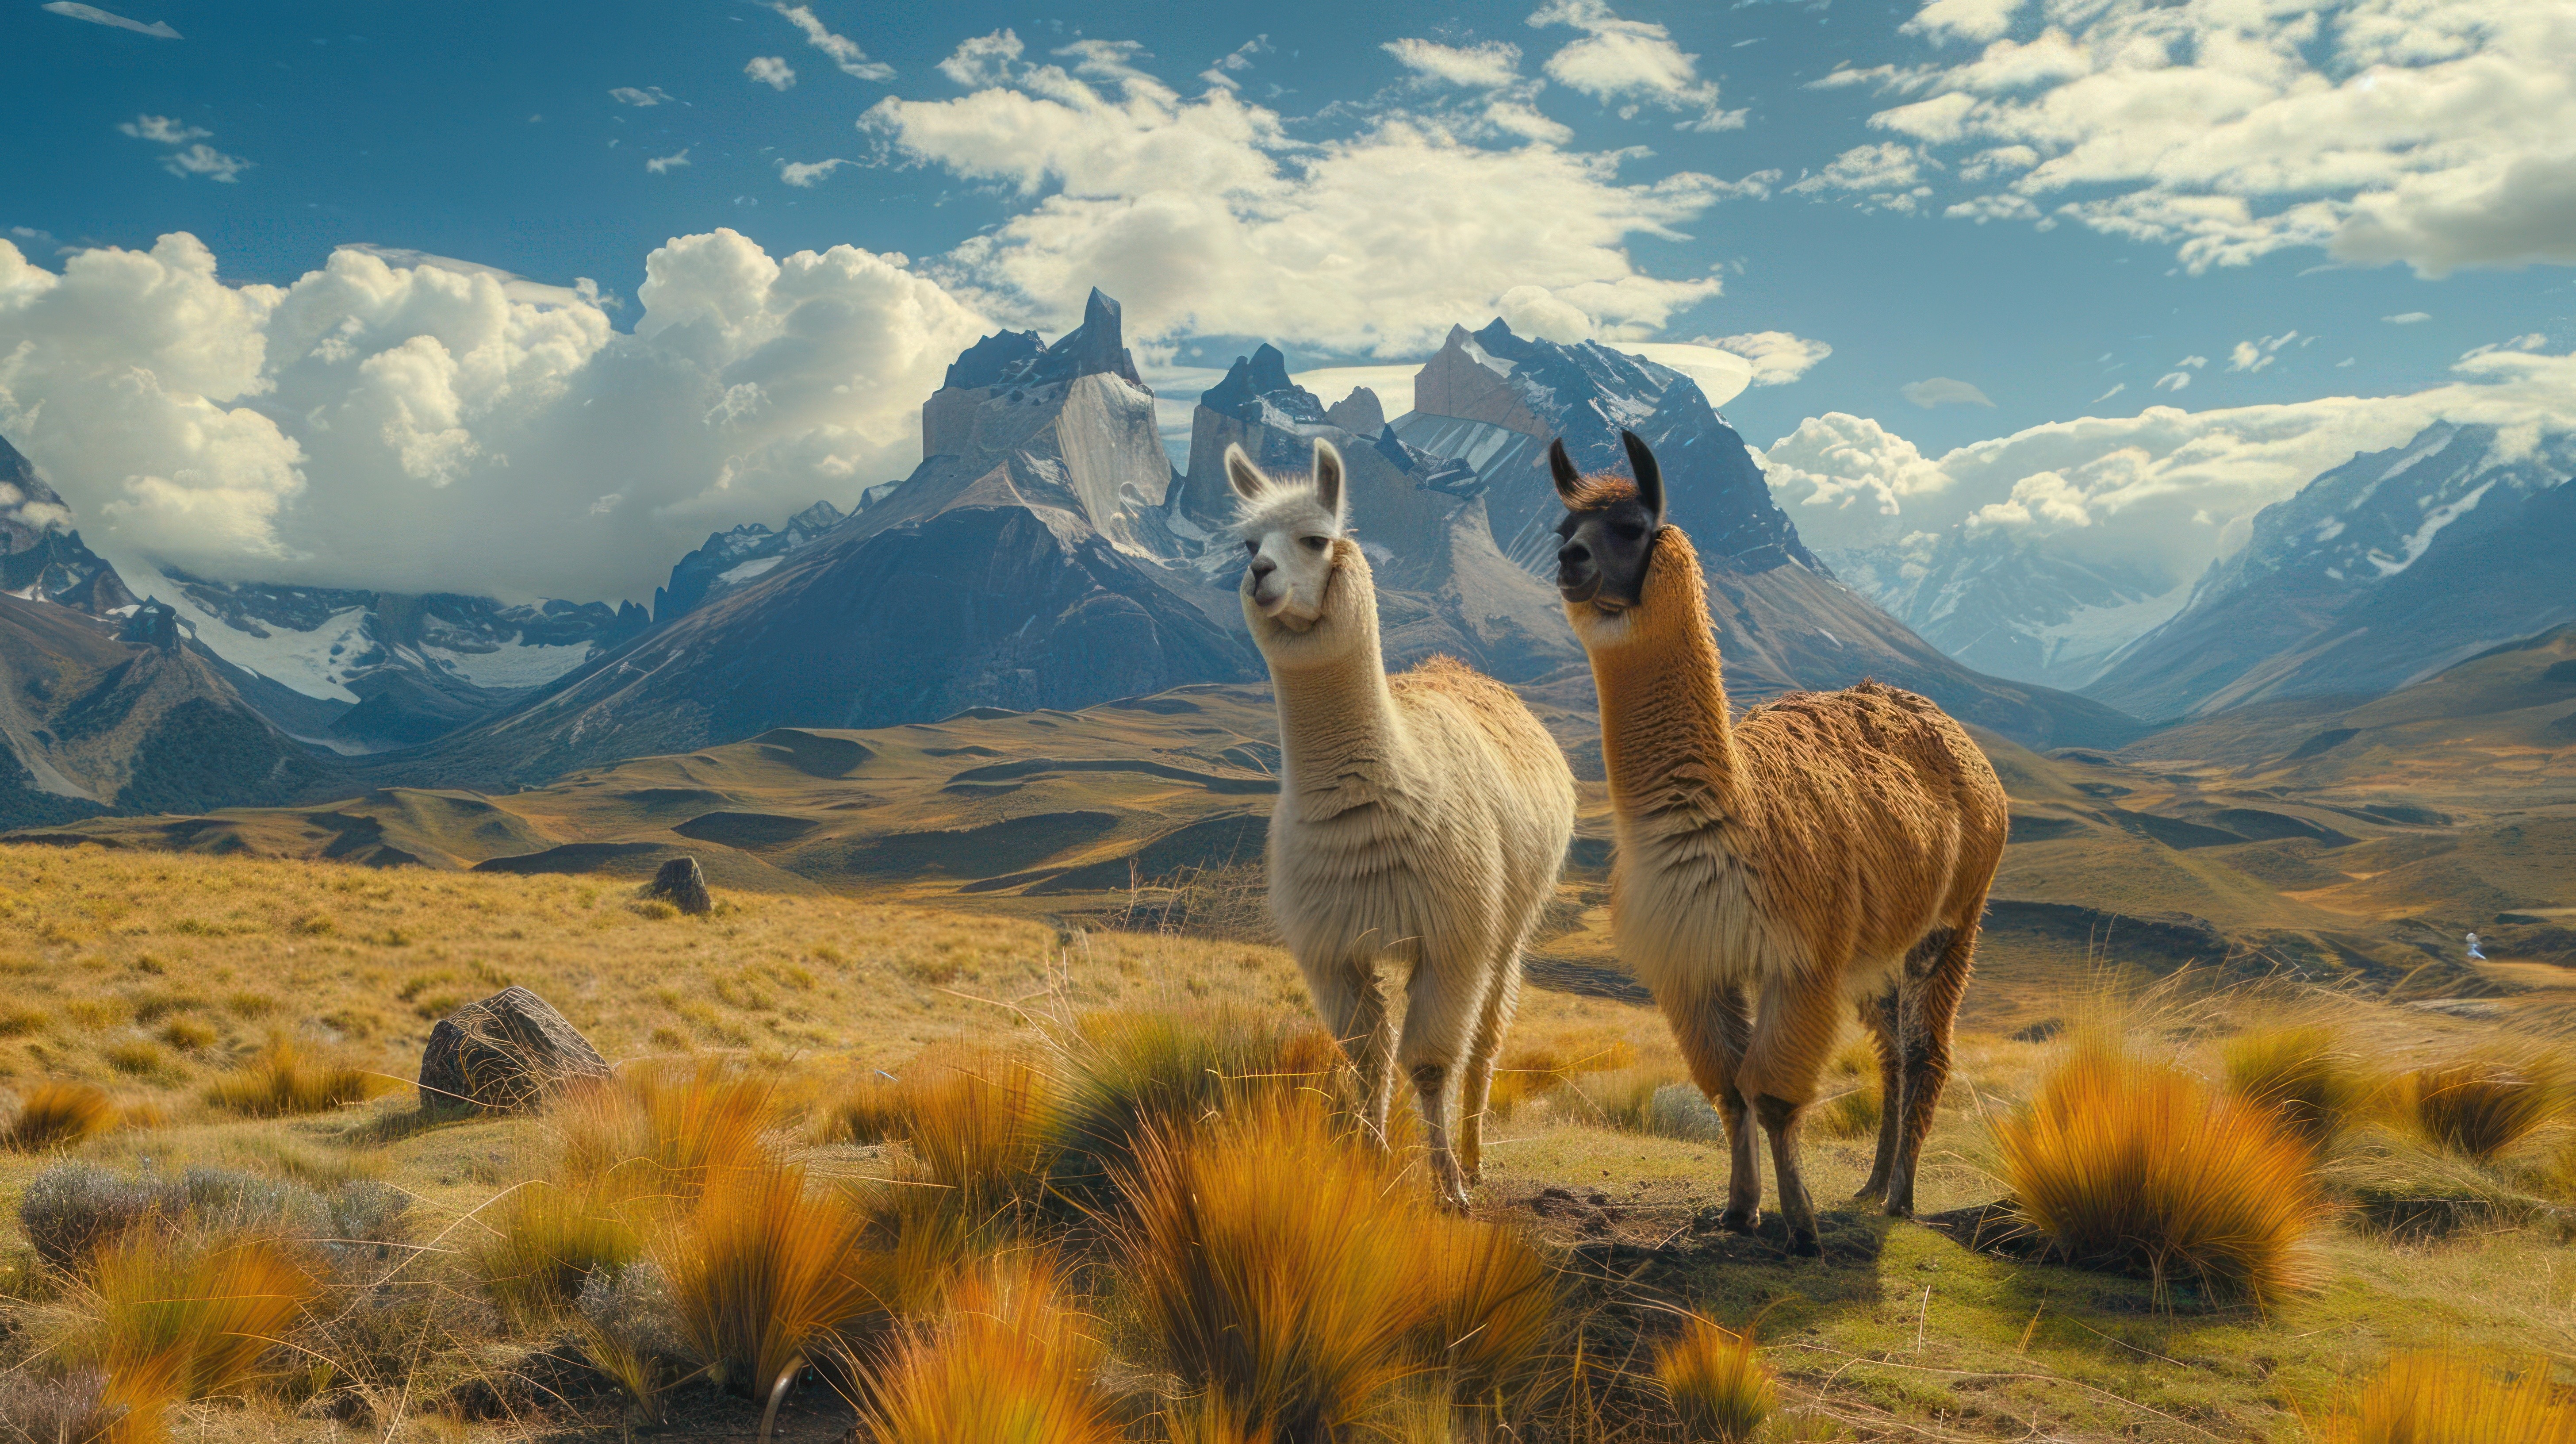
These are also the days when the wildlife density noticeably increases. Without the constant foot traffic of the W, guanacos graze close to the trail, condors are regularly overhead, and there's a genuine chance of spotting fox, huemul deer (rare and special if you do), and puma tracks in the mud. You're unlikely to see a puma, but the absence of crowds makes the whole landscape feel wilder.
John Garner Pass: The Crux
The crossing from Los Perros camp to the Grey Glacier sector via John Garner Pass is what separates the O Circuit from a longer version of the W Trek.
The pass sits at 1,241m — not high enough to cause altitude issues, but high enough to be completely exposed. The climb from Los Perros involves scrambling over wet rock and, in early season or after snowfall, snow patches that require careful footing. The top of the pass is often windy in a way that makes communication difficult, and the views — of the Ice Field on one side and the Grey Glacier sector on the other — are extraordinary when visibility allows.
The descent on the far side is steep and can be slippery when wet. Take it slowly. Most accidents on the O Circuit happen on this descent, not the ascent.
CONAF rangers at Campamento Los Perros monitor conditions and will close the pass if it's genuinely dangerous. If they turn you back, take it seriously. Build at least one weather buffer day into your O Circuit itinerary for exactly this situation — the pass closes more often than the general guides suggest.
For timing: December through February is the safest window for the pass. November and March are possible but you should expect a higher probability of snow and more difficult conditions. The crossing is typically done early in the morning to maximize daylight on both sides.
Logistics That Differ from the W
The backside of the O Circuit is camping-only. There are no refugios between Paine Grande and the point where you rejoin the W route near Grey. This means you're carrying your shelter, sleeping system, cooking gear, and all your food for the backside section — typically 4–5 days worth.
Pack weight planning matters here. Most experienced O Circuit trekkers carry somewhere between 14–18 kg for the full circuit. Water sources on the backside are plentiful — every campsite has reliable stream access — so you don't need to carry much at a time. Treat everything; the backside sees enough human traffic now to make raw water a risk.
CONAF regulations require the circuit to be completed clockwise (west-to-east on the W side, then north on the backside). This isn't arbitrary — it controls traffic flow and reduces congestion at the pass.
Is the O Worth It?
My honest answer: if you have the time, the fitness, and the camping experience, absolutely yes. Not because it's harder (though it is), but because the backside shows you a version of Torres del Paine that most visitors never see. Days when you walk for hours and see three other people. Mornings when the only sound is wind and water. That feeling of actually being in the wilderness, not just passing through a spectacle.
If you're choosing between the O Circuit and spending the extra days in El Chalten — which is a real choice for many people — I'd say: if this is your first Patagonia trip, El Chalten gives you a different landscape and a completely different trekking style (more flexible, no bookings, great day hiking). If you've already done El Chalten, or you specifically want the full Torres experience, do the O.
Permits, Booking & Logistics
This is the section most people wish they'd read before they tried to figure it out on their own.
Park Entrance
Torres del Paine charges an entrance fee managed by CONAF. For the high season (November–March), the fee is currently around USD $35–50 for international visitors; shoulder season is lower. You pay this at the park entry checkpoints when you arrive, not in advance. Keep the receipt — you may be asked to show it at refugios and checkpoints inside the park.
Refugio Booking
The park's accommodation is managed by two concessionaires: Vertice Patagonia and Fantastico Sur. Each covers different sections of the W Trek:
Fantastico Sur operates the eastern sector: Refugio Torre Norte, Torre Central (closest to the Base Torres), and Los Cuernos.
Vertice Patagonia operates the central and western sector: Paine Grande, Grey (the closest refugio to the glacier), and Chileno.
You book through their respective websites. The critical thing to understand is that these systems are separate — you'll need accounts and reservations on both platforms for a standard W Trek, and they don't coordinate with each other. Do both sessions in the same sitting if you can.
For peak season (December–January), refugios sell out 6–12 months in advance. This is not an exaggeration. If you're planning a January trip and you're reading this in October, check availability immediately. February and early March have more flexibility. November is significantly easier to book.
Refugio packages typically include accommodation, breakfast, and dinner, with an optional packed lunch. They're expensive — budget around USD $120–180 per person per night depending on the refugio — but the included meals and the fact that you're carrying a much lighter pack go a long way toward justifying the cost.
Camping Reservations
Camping in Torres del Paine is no longer first-come-first-served. Designated campsites require advance booking through the same concessionaire websites. This is a relatively recent change that catches people off guard.
Camping costs significantly less than refugios — roughly USD $10–20 per person per night — but you're carrying tent, sleeping bag, and cooking gear, which adds 4–6 kg to your pack. For the W Trek, camping is the fallback if refugios are full; for the O Circuit, camping is the default.
Book your camping nights at the same time as your refugio nights, and have a backup plan. If your first-choice campsite is full, know what your alternative is before you're standing at the trailhead.
Getting to the Park
Most people use Puerto Natales as their base. It's 150 km from the park, has good bus connections, gear shops, supermarkets, and accommodation for pre and post-trek nights.
Buses from Puerto Natales to the park run daily in season, departing around 7–8am and taking 2.5–3 hours to reach the main entry points (Pudeto for the catamaran to Paine Grande, or Laguna Amarga for the eastern sector). Book bus tickets a few days in advance in peak season.
If you're flying into Punta Arenas, you can either bus directly to Puerto Natales (3 hours) or take an internal flight to Puerto Natales if timing is tight. The bus is fine; it's a comfortable enough route and the scenery on the way in is genuinely good.
The Catamaran
For the west-to-east W Trek, the catamaran from Pudeto to Paine Grande is the gateway. It runs roughly twice daily in high season — typically mid-morning and early afternoon. Confirm current times when you book your park transport, because they adjust by season and can sell out.
If you miss the catamaran, your only option is a long walk around the lake. Missing it is avoidable with some planning.
Booking Tips That Actually Help
Book refugio and camping reservations simultaneously, not one then the other — the popular nights fill fast and you want to lock in your whole itinerary in one session. Have your full itinerary (dates, which refugio/campsite each night) written out before you start the booking process.
Check cancellation policies carefully. Weather cancellations do happen, and knowing whether you can reschedule a night (and how) matters. Vertice and Fantastico Sur both have policies, but they're not always clearly advertised.
If you're doing the W in shoulder season, you have much more flexibility — but don't assume you can leave everything to the last minute. Booking a month out is still sensible.
Gear: What's Different at Torres del Paine
The full breakdown of Patagonia gear is in the Go Wild Patagonia Gear Guide. Here's what's specifically worth knowing for TdP.
The Wind Changes Everything
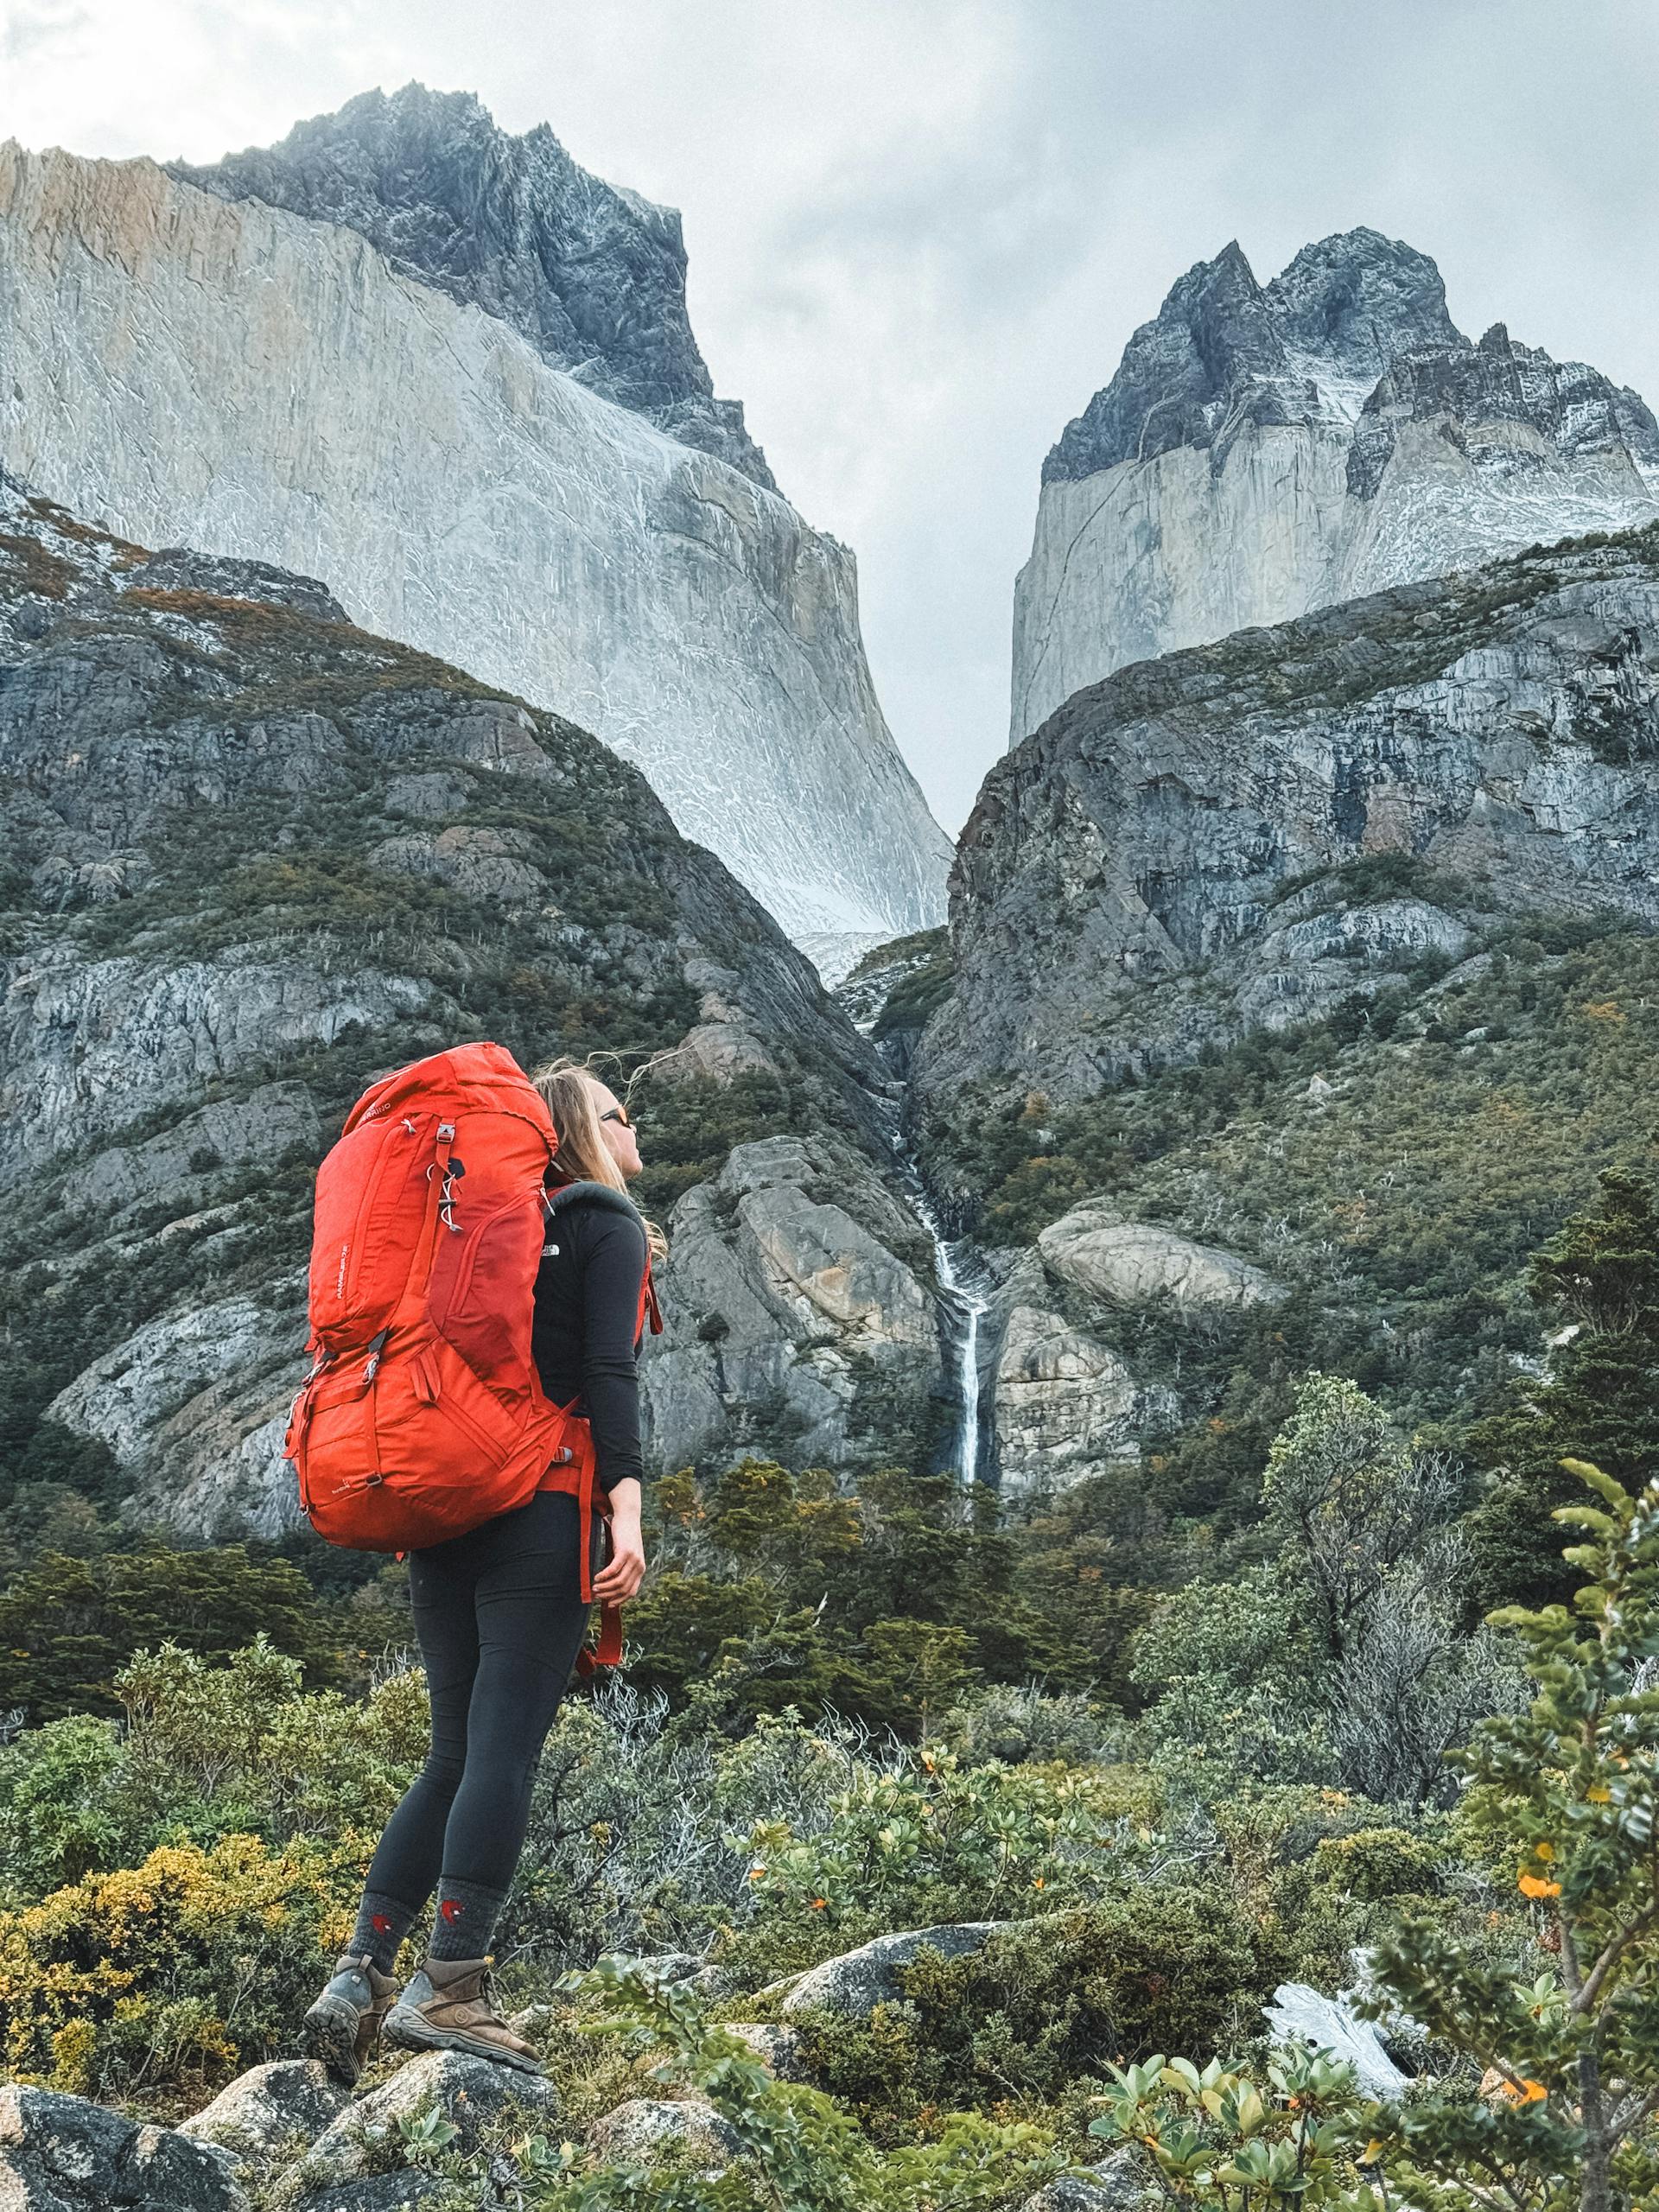
Trekking poles are not optional here. On exposed sections — the lakeside trail to Grey, the ridge below the Cuernos, the approach to John Garner Pass — the wind can genuinely affect your balance. Two poles are better than one. This is one of those recommendations that sounds excessive until you're walking into a 90 km/h gust.
Your waterproof jacket will be tested harder here than on most trails. Patagonian rain comes sideways. A jacket that's technically waterproof but not fully sealed at the cuffs and collar becomes a damp misery fairly quickly. Gore-Tex or equivalent with a proper storm hood, fitted close to your face, is worth the investment. Waterproof trousers are not optional — they're basic kit.
Gaiters are more useful here than on most trails. The vegetation on wetter sections is low and scrubby, the paths are often boggy, and keeping your lower legs and boot collars dry makes a meaningful difference over a multi-day trek.
Tent Spec for the O Circuit
If you're camping on the O Circuit, your tent needs to be properly wind-rated. The designated campsites have some shelter, but "some shelter" in Torres del Paine means you're still dealing with serious gusts. A three-season tent with full guying capability is the minimum. A four-season tent is better. Practice pitching it at home — not just once, but quickly — before you need to do it in the dark in 70 km/h winds.
Always pitch with the narrow end facing west. The prevailing winds come from that direction. Use every guy line and every stake. Stake into the ground with the full angle the stakes are designed for. If you're at Paine Grande or Grey in a big wind event, you'll be glad you did all of this.
Pack Weight for the W vs O
For the W Trek using refugios, you can realistically hike with 8–12 kg. You're carrying clothes, day gear, and snacks — the refugios cover shelter and meals.
For the W Trek camping, add tent, sleeping bag, sleeping mat, and cooking gear: more like 14–17 kg.
For the O Circuit, you're carrying all of the above plus 4–5 days of food for the backside section: 16–20 kg depending on how efficiently you've packed.
The weight difference on the O Circuit makes a real difference on a long day. Every gram matters when you're doing 20+ km in wind. Dehydrated meals, a lightweight stove, and a minimalist camp kit pay off on the backside.
Photography
The classic Torres del Paine shot — the towers at sunrise — requires you at Mirador Las Torres between 5:30 and 6:30am in January. That means leaving Campamento Chileno at 4am with a headlamp.
The best single lens to bring if you're limited is a 24–70mm equivalent. Wide enough for the towers and glaciers, long enough to isolate details. Protect your camera body from horizontal rain with a rain sleeve or a simple freezer bag — the wind-blown moisture gets into everything.
For the Grey Glacier, morning is better than afternoon. For the French Valley and Mirador Britanico, it doesn't matter as much — you're in a sheltered valley and the light wraps around. For the Cuernos shot from the eastern section of the W, late afternoon can be spectacular if skies are even partially clear.
When to Go
November
The sweet spot for experienced trekkers who don't need everything to be perfect. Most refugios and campsites open by mid-November. The trails are significantly quieter — maybe 20–30% of the January volume. The downside: weather is more unpredictable than December or January, wind is building, and you might hit a run of several grey days. If that doesn't deter you, November offers the best balance of solitude and reasonable conditions.
December
High season begins. The days are extraordinary — sunrise around 4:30am, sunset near 10pm — which means maximum hiking time and the long golden light that makes landscape photography in Patagonia so good. The downside is that demand spikes and the W Trek starts feeling crowded. Wind tends to be strong, often peaking in the afternoon. December is very good; just book well in advance.
January
The warmest month and the busiest. If you're going in January, particularly in the second half, manage your expectations around crowds on the W Trek. That said, the conditions are as reliable as they get in this park — warmer temperatures, longer settled spells, all services fully operational. If peak season is what you have, January works fine. Just don't expect solitude.
February
Often a better choice than January. Slightly fewer trekkers, conditions still generally good, and by mid to late February you start seeing the first hints of autumn colour in the lenga forests — gold and amber creeping in at the edges. Temperatures are stable and prices are still high season, but it feels a little less like a march.
March
Shoulder season begins and the park shifts noticeably. The autumn colours are genuinely spectacular — lenga beeches go vivid gold and red, the landscape takes on a completely different quality. Weather becomes more variable; you're more likely to get a run of wet, windy days. But the trails are quiet, the prices drop, and the light for photography is often dramatic. March suits people who are comfortable with uncertainty and value the atmosphere over guaranteed clear skies.
April
Most facilities close. Conditions become difficult. This is for experienced, well-equipped trekkers who know what they're doing.
A note on wind regardless of month: winds typically peak between 1pm and 5pm. Whatever day you're hiking, start early. Being on the most exposed sections — the Grey lake trail, the ridgeline below the Cuernos — before noon significantly reduces your exposure to the worst gusts.
Safety, Conditions & What Actually Goes Wrong
Honest talk. Here's what the standard guides don't always cover clearly.
John Garner Pass closures are common. If you're on the O Circuit, build a genuine buffer day for this. Rangers at Los Perros camp will turn you back if conditions are dangerous, and "dangerous" on that pass can mean winds that make it genuinely unsafe to cross exposed sections, ice that requires equipment you don't have, or zero visibility. When rangers close the pass, listen. The pass will be there tomorrow.
The Base Torres boulder field takes longer than it looks. Looking at it from the top of the moraine, it seems like 20 minutes of hopping. In reality, it's 45–60 minutes of careful, uneven, ankle-testing terrain. Allow more time than you think, especially in low light or wet conditions when the rocks are slippery.
Booking failures have consequences. The rigid reservation system means that if you fall behind schedule — a sprained ankle, a weather day, a missed catamaran — your downstream bookings are affected. Know the protocols before you go: call the relevant concessionaire as soon as you know you'll miss a night, understand the rebooking policy, and have cash for unexpected nights in emergency accommodation.
Wind-related incidents are real. Setting up a tent in 80+ km/h winds without proper preparation is how gear gets destroyed. Pitching before the wind arrives is always better than pitching in it. If winds are extreme and you have the option of waiting in a refugio, take it. There's no award for hiking into dangerous gusts.
The 2011 fire and why campfires are banned. A careless tourist started a fire that burned 17,000 hectares of the park. The scars are still visible in places. Fires are completely prohibited throughout Torres del Paine. This is not a guideline — violation results in heavy fines and potential prosecution. Use your stove. Pack out your rubbish. Leave the place as you found it.
Medical evacuation. There is no cell phone signal on the trails. In emergencies, refugios have communication systems. In the backcountry on the O Circuit, you're relying on self-sufficiency or a satellite communicator (a Garmin inReach is worth bringing). Helicopter evacuation costs tens of thousands of dollars. Travel insurance with medical evacuation cover is not optional in this park — it's part of the trip cost.
Know when to turn back. This one's worth saying plainly: Patagonia's mountains are permanent. If conditions exceed your ability or your margin for error, turning around is not failure. It's good judgment. The trail will be there the next time you come.
Puerto Natales: Your Base Before and After
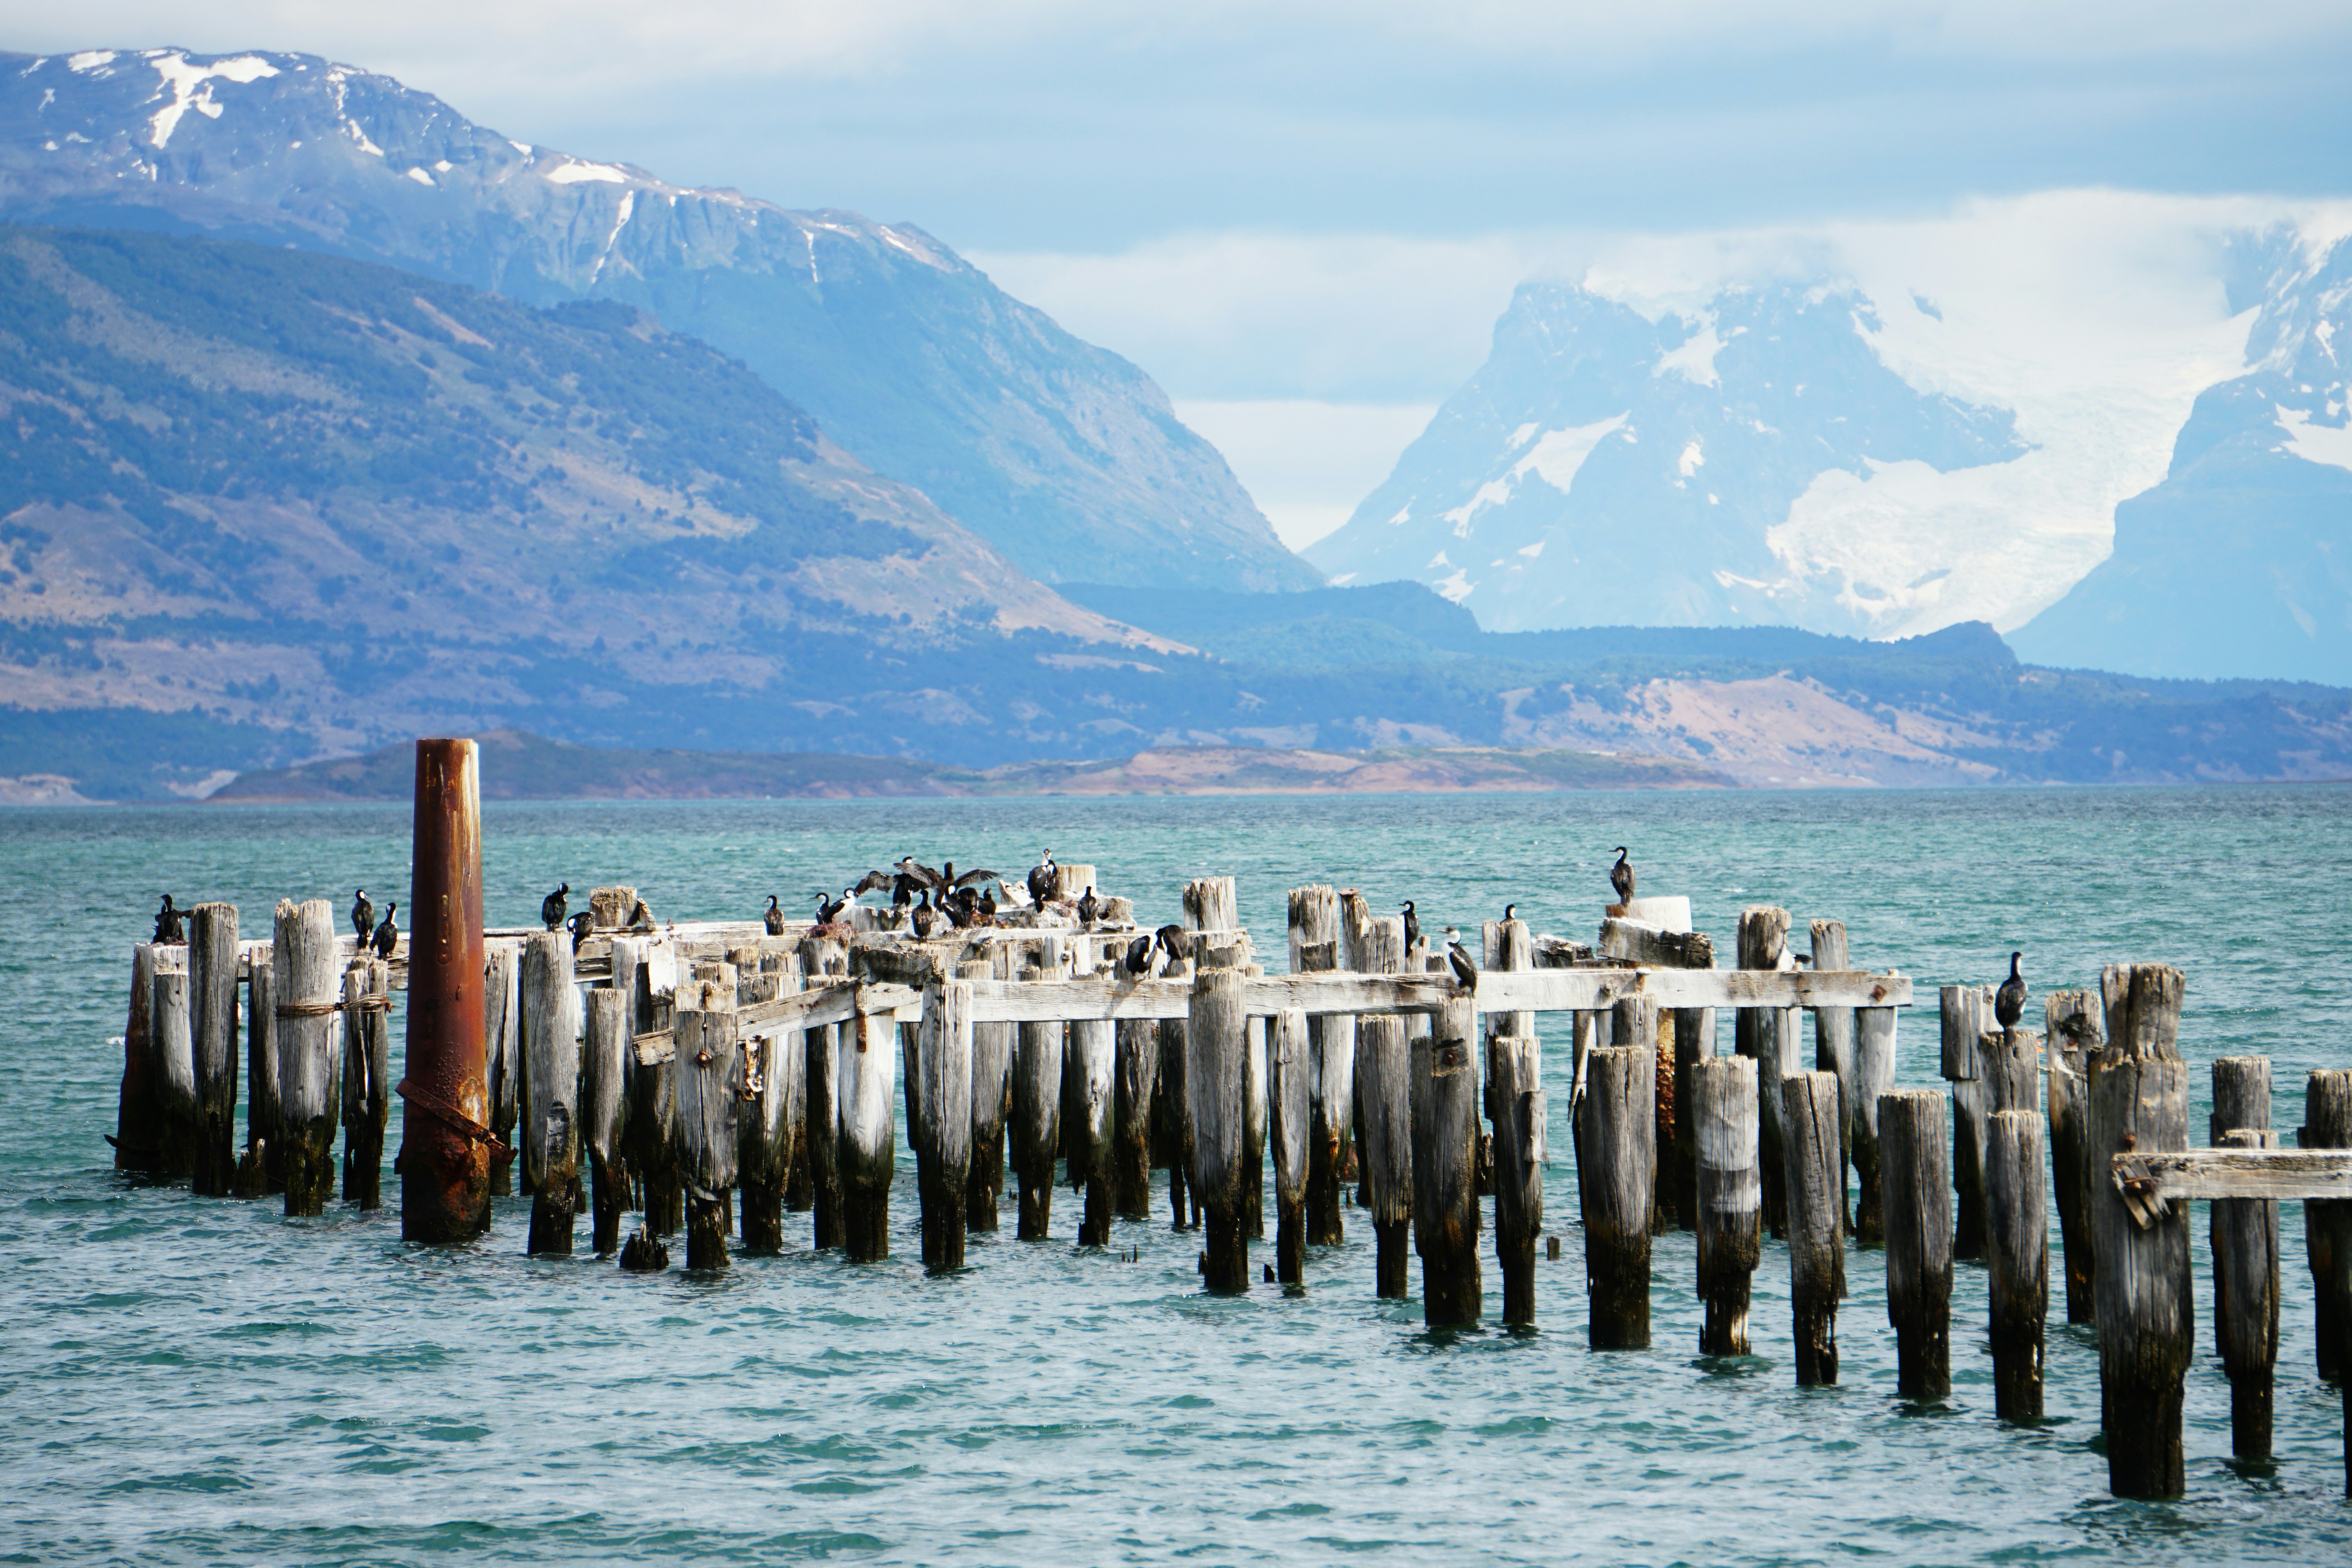
Puerto Natales is a small town of about 20,000 people on the shore of Última Esperanza Sound, and it has evolved into one of the best-organised trekking gateway towns in South America. Almost everything you need is here.
For pre-trek accommodation, the town has a wide range of options from hostel dorms to mid-range hotels. If you're arriving with a 20 kg pack and significant gear, something with luggage storage and drying facilities is worth paying a little more for. The Singular and other higher-end options are excellent for a post-trek night when you want a proper shower and a good dinner.
Supermarkets in town are well-stocked for trek supplies — you can buy all your camping food here, including some freeze-dried options though selection is limited. Stock up properly; there are no resupply points once you're in the park. Outdoor shops like Erratic Rock and Baquedano offer gear rental (tents, sleeping bags, stoves, trekking poles) if you're flying in and can't carry everything.
The night before your trek, confirm your bus time, have your park booking confirmations ready to show, pack everything the evening before so you're not scrambling at 6am, and eat a proper dinner. The last thing is surprisingly important — a lot of people short-change their last town meal and then wonder why they're hungry by Day 2.
After the trek, Puerto Natales has what you need: good craft beer (Cervecería Baguales is worth a visit), solid patagonian lamb at several restaurants, and the particular satisfaction of sitting inside while the wind howls outside and knowing you've just completed something worth doing.
Final Thoughts
Torres del Paine is the real deal. The towers are as extraordinary as you've seen in photographs — more so, because photographs can't give you the scale or the wind or the cold or the quality of the light at 6am when everything turns gold. The W Trek is accessible to any fit, well-prepared hiker. The O Circuit is one of the great wilderness experiences on this planet for those ready to take it seriously.
What this place asks of you is fairly simple: plan ahead (the booking system rewards preparation), respect the conditions (the weather doesn't adjust to your schedule), carry the right gear (waterproofs that actually work, poles, a wind-rated tent if you're camping), and build flexibility into your itinerary. A buffer day isn't wasted — it either gives you a weather window for a pass or viewpoint you wouldn't have otherwise, or it gives you rest. Both are good.
The people who come away disappointed from Torres del Paine are almost always the ones who underestimated the planning or overestimated the weather. The people who come away transformed are the ones who showed up prepared, adapted when conditions required it, and let the place be what it actually is rather than what the Instagram feed suggested.
That version of the trip — the real one, wind and all — is absolutely worth it.
For full gear recommendations and packing lists for Patagonia trekking, see the Go Wild Patagonia Gear Guide. For an overview of trekking options across Chilean and Argentine Patagonia, read the Patagonia Trekking Guide.
Sources and planning links:
CONAF Torres del Paine: parquetorresdelpaine.cl
Vertice Patagonia (refugios): verticepatagonia.com
Fantastico Sur (refugios): fantasticosur.com
Chile Travel (official): chile.travel
About Me
Veb
Hey there! I’m Veb and I've traveled solo and in groups for 10+ years in Patagonia - across Chile and Argentina.
I started Go Wild Patagonia with a desire to help other travelers plan their journeys in Patagonia with a focus on adventure, nature and being in the wilderness.
Say Thanks
Support my mission to make Patagonia more accessible for travelers while supporting local tour operators who organize only sustainable travels in Patagonia.
Read More
Chubut Province, Argentina — Cathedral of Ancient Trees Overview Los Alerces National Park protects 263,000 hectares of pristine Valdivian rainforest in Argentine Patagonia, home to some of the oldest living trees on Earth. The park's namesake—the alerce tree (Fitzroya cupressoides)—can live over 3,000 years, rivaling California's sequoias and bristlecone pines.
Update on Oct 24, 2025

El Bolsón offers world-class hiking: Refugio Hielo Azul and Refugio Cajón del Azul sit in alpine cirques accessible via multi-day treks, Cerro Piltriquitrón (2,284m) provides panoramic summit views, and Cajón del Azul's turquoise canyon ranks among Patagonia's most photographed day hikes.
Update on Oct 24, 2025

Monte Leon National Park is Argentina's first coastal national park, protecting 40 km of dramatic Atlantic shoreline where the Patagonian steppe meets the sea.
Update on Oct 24, 2025
